Table of Contents
Key Takeaways
- You can whiten brown eggs at home
- All you need is vinegar and water
- The process takes about 15 minutes
- The shells won’t be paper-white, but a soft, natural white
- Best results come from scrubbing while the eggs are still warm!
If you’ve ever planned a soft, pastel Easter table and then realized all you have are brown eggs, you’re not alone.
For years, I thought that look (those delicate, light-colored Easter eggs) was reserved for people who could somehow find perfectly white eggs. Turns out, you don’t need them at all.
With a simple vinegar solution and a bit of gentle scrubbing, you can turn brown eggs into soft, naturally white ones, ready for dyeing, decorating, or just leaving beautifully minimal.
And yes, it actually works.
Can You Really Turn Brown Eggs White
The brown color on eggshells isn’t deep within the shell itself. It’s a pigment layer on the surface. When you cook eggs in a vinegar solution, the acid reacts with the calcium carbonate in the shell, loosening the outer layer.
That’s why you’ll notice foam forming as the eggs cook; it’s part of that reaction happening in real time.
Once softened, the pigment can be gently rubbed away, revealing a much lighter shell underneath.
Now, you may wonder whether this affects the taste or the safety of the eggs?
Not at all, at least not in any meaningful way.
As long as the shells stay intact during cooking, the inside of the egg remains unchanged. You can safely eat them, use them in recipes, or simply decorate them for Easter with pantry essentials.
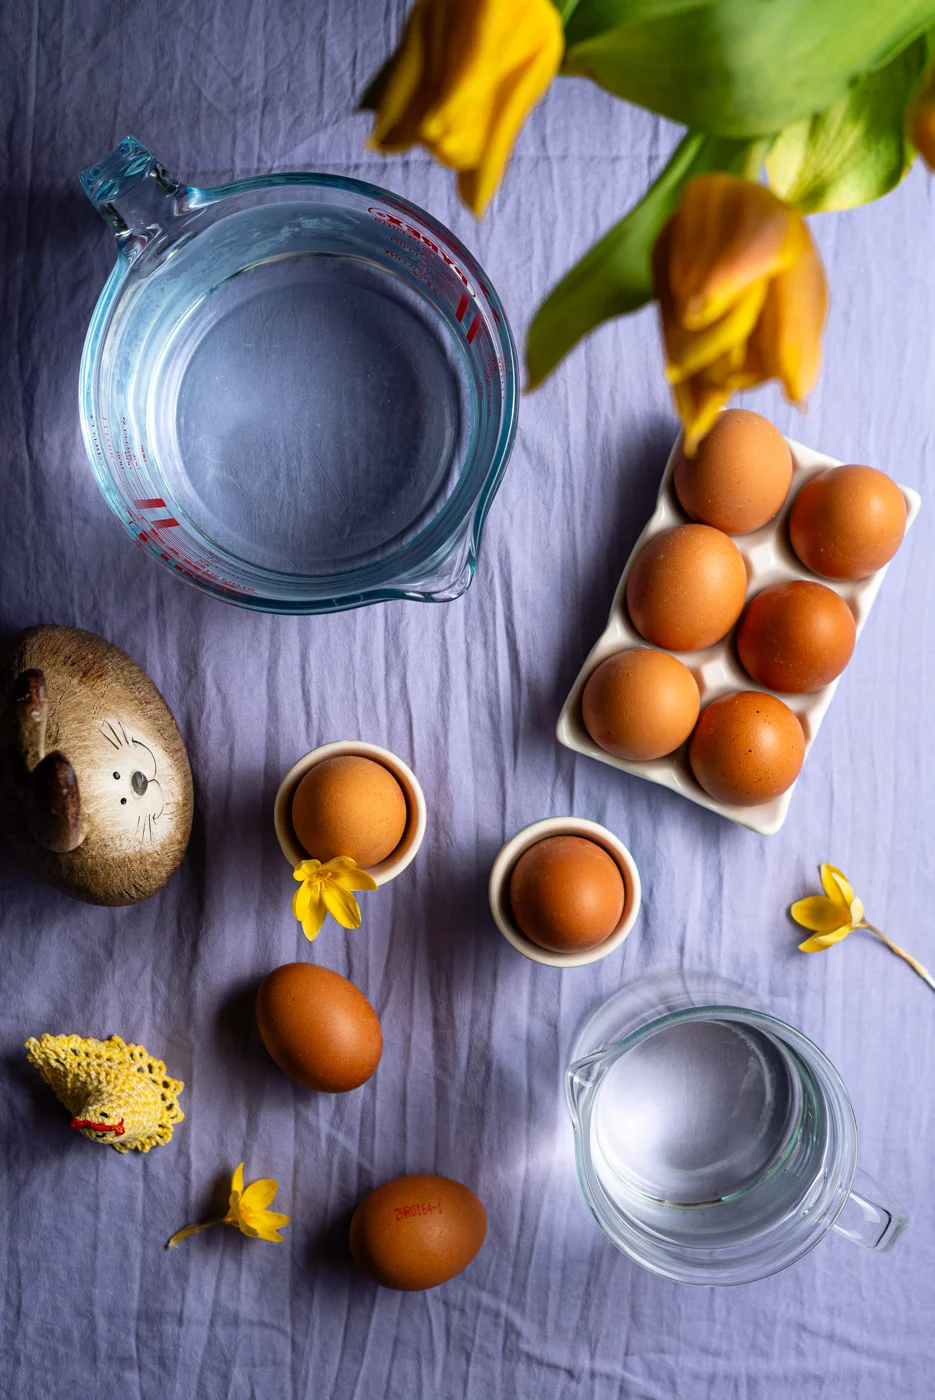
What You’ll Need
This is as simple as it gets:
- Brown eggs
- Vinegar (alcohol or white distilled vinegar)
- Water
- A medium to large pot
- Spoon or small strainer
- A slightly rough cloth or kitchen sponge, nothing fancy
Which Vinegar Works Best
Regular alcohol vinegar, or white distilled vinegar, works perfectly here. There’s no need for anything fancy.
Avoid flavored or colored vinegars because they can stain the shells and defeat the whole purpose.
How to Whiten Brown Eggs (Step-by-Step)
1. Boil the Eggs in Vinegar Water
In a medium-large pot, combine eggs, vinegar, and water.
A good ratio is:
- 1 part vinegar
- 2 parts water
Bring everything to a boil.

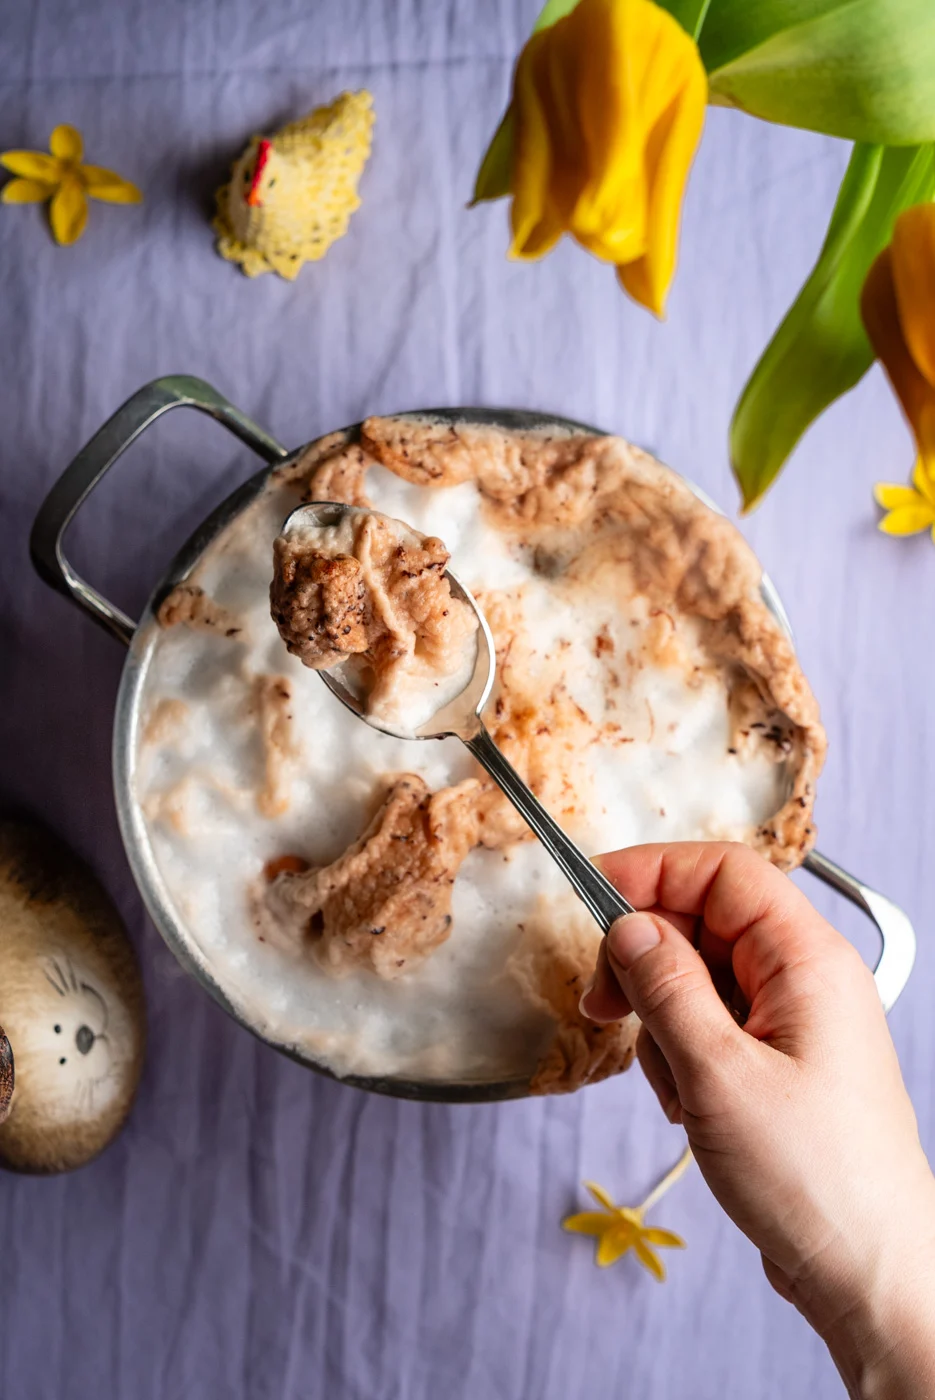
2. Skim Off the Foam
As the eggs cook (especially toward the end), you’ll notice foam and bubbles forming on the surface.
This is completely normal: it’s the acid reacting with the shell. Just skim it off occasionally with a spoon or small strainer.
3. Let Them Cool Slightly
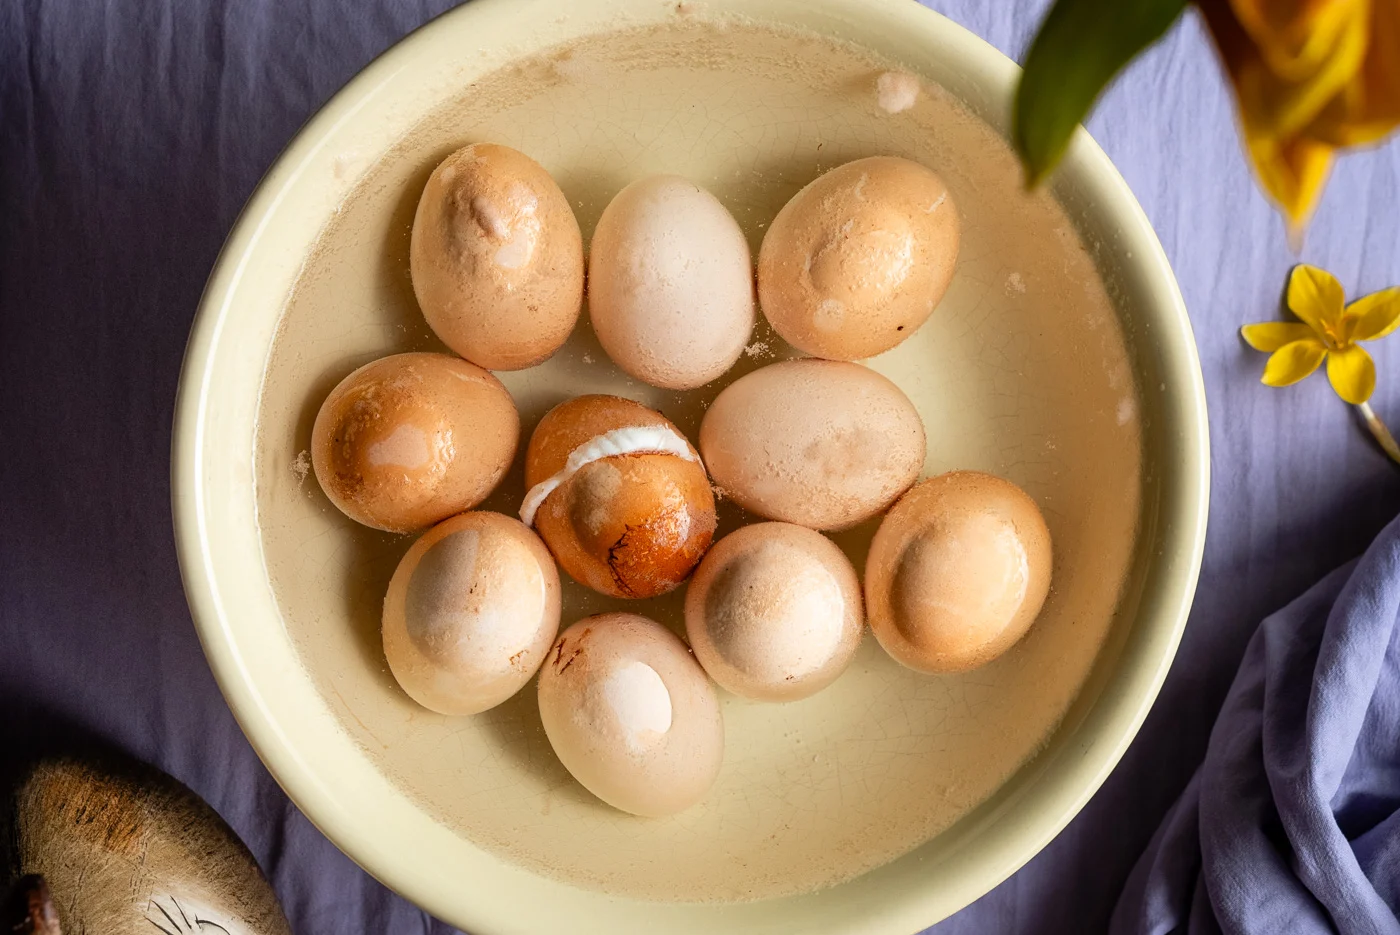
Once the eggs are done (after about 15 minutes), transfer them to cold water.
But here’s the important part: don’t let them cool completely.
You want them warm enough to handle, but not fully cold. That’s when the shell is easiest to clean. Of course, at least one egg always cracks during cooking, so it’s best to eat it right away and continue with the leftover 9 eggs.
Already, you can see how eggs became quite lighter in color, and I haven’t even used the sponge yet!
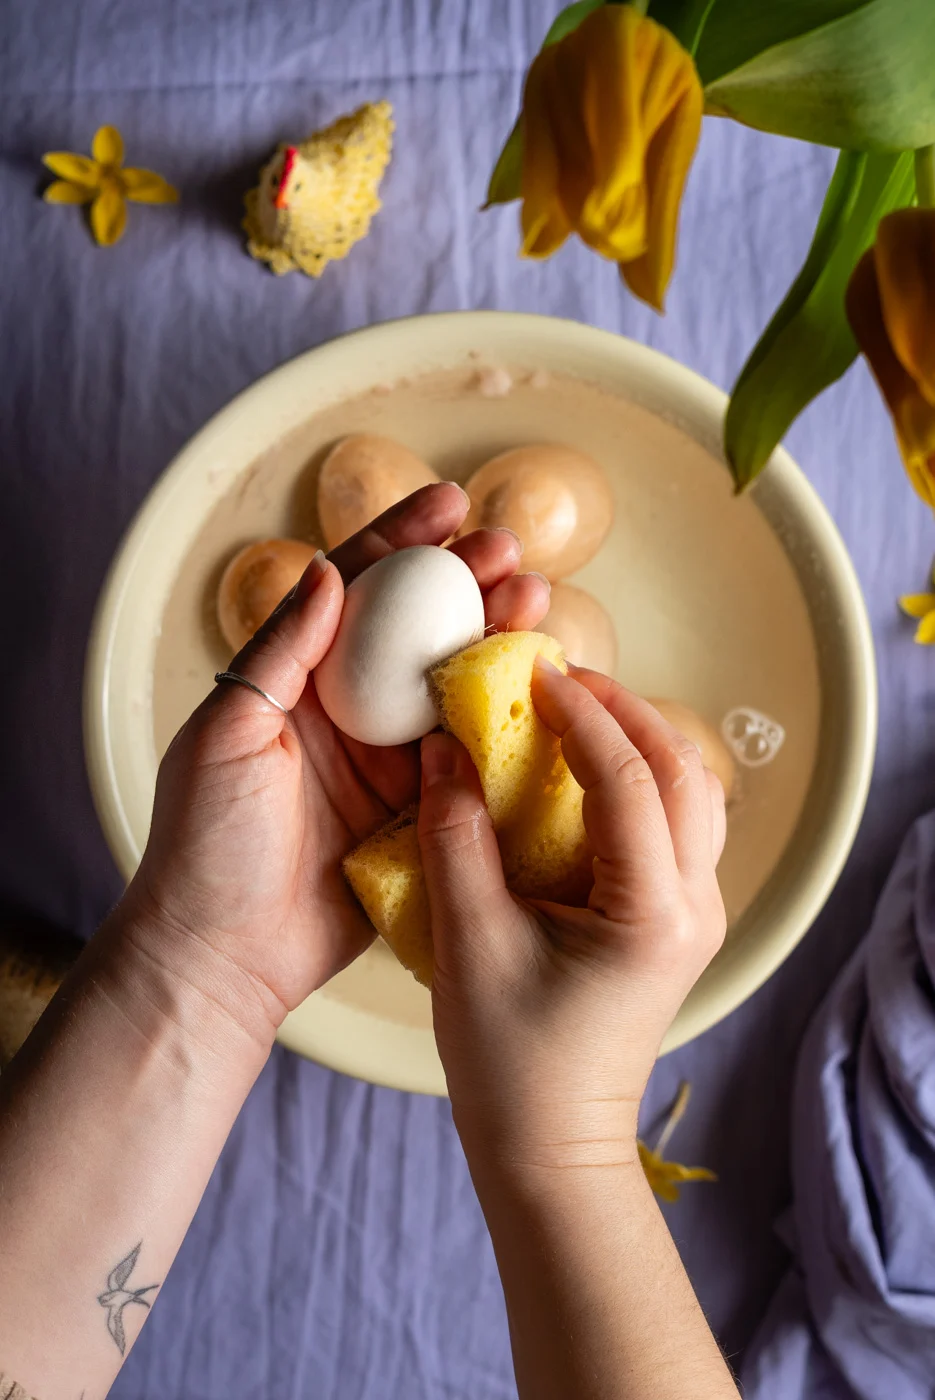
4. Gently Rub the Shell
While the eggs are still warm, take a rough cloth or sponge and gently rub the surface. The brown layer should come off quite easily, revealing a soft white shell underneath.
No aggressive scrubbing needed. If it feels hard to remove, the eggs have likely cooled too much.
Common Mistakes to Avoid
This method is simple, but a few small things will make a big difference:
- Using very fresh eggs → more delicate and harder to work with
- Letting eggs cool completely → makes the pigment harder to remove
- Scrubbing too hard → be gentle, because you can (and will) crack the shell
- Using too little vinegar → weakens the reaction
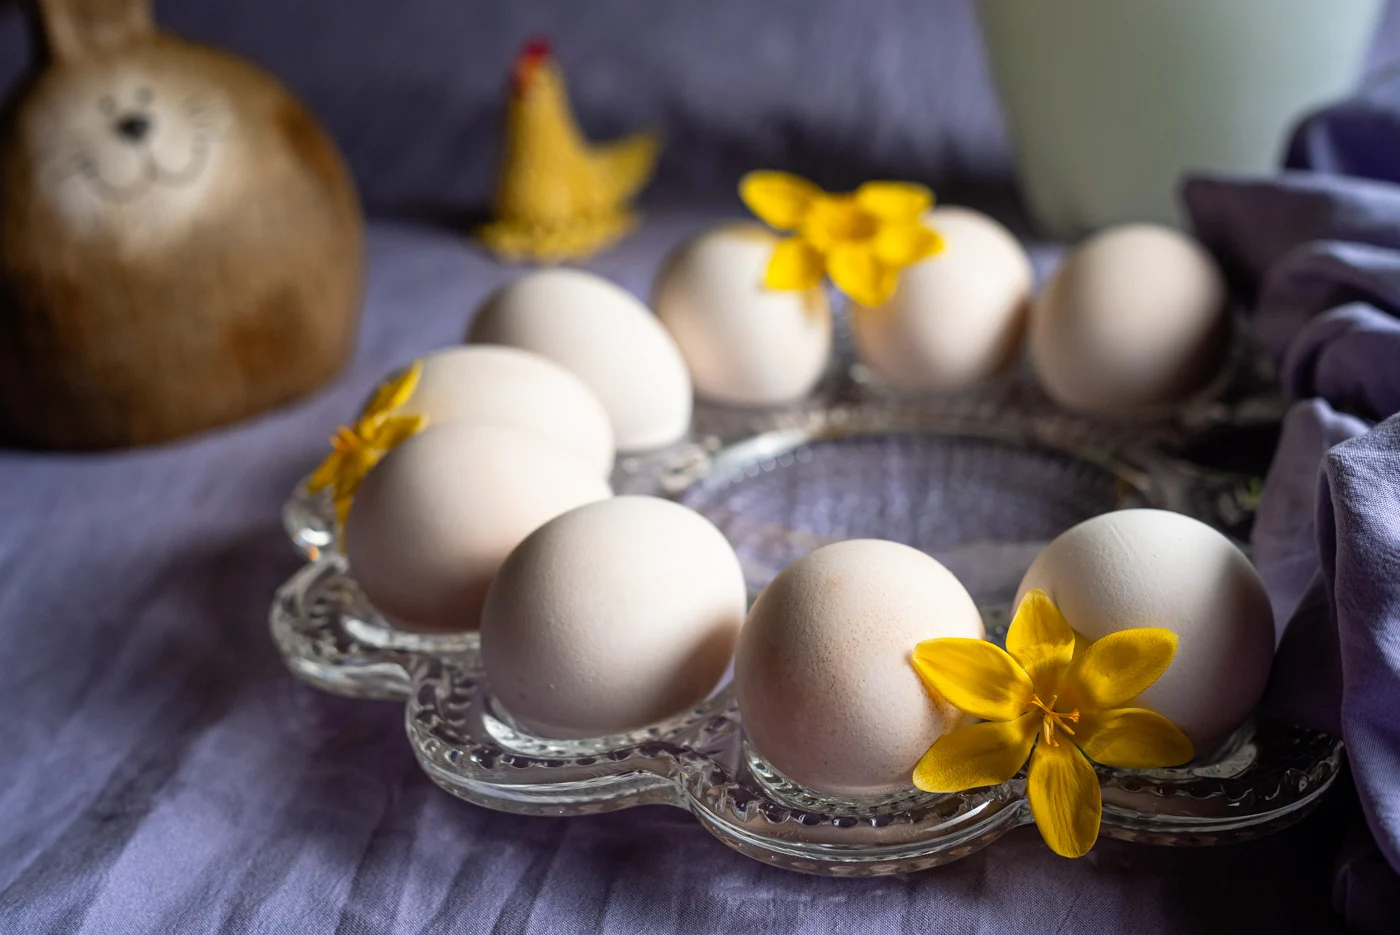
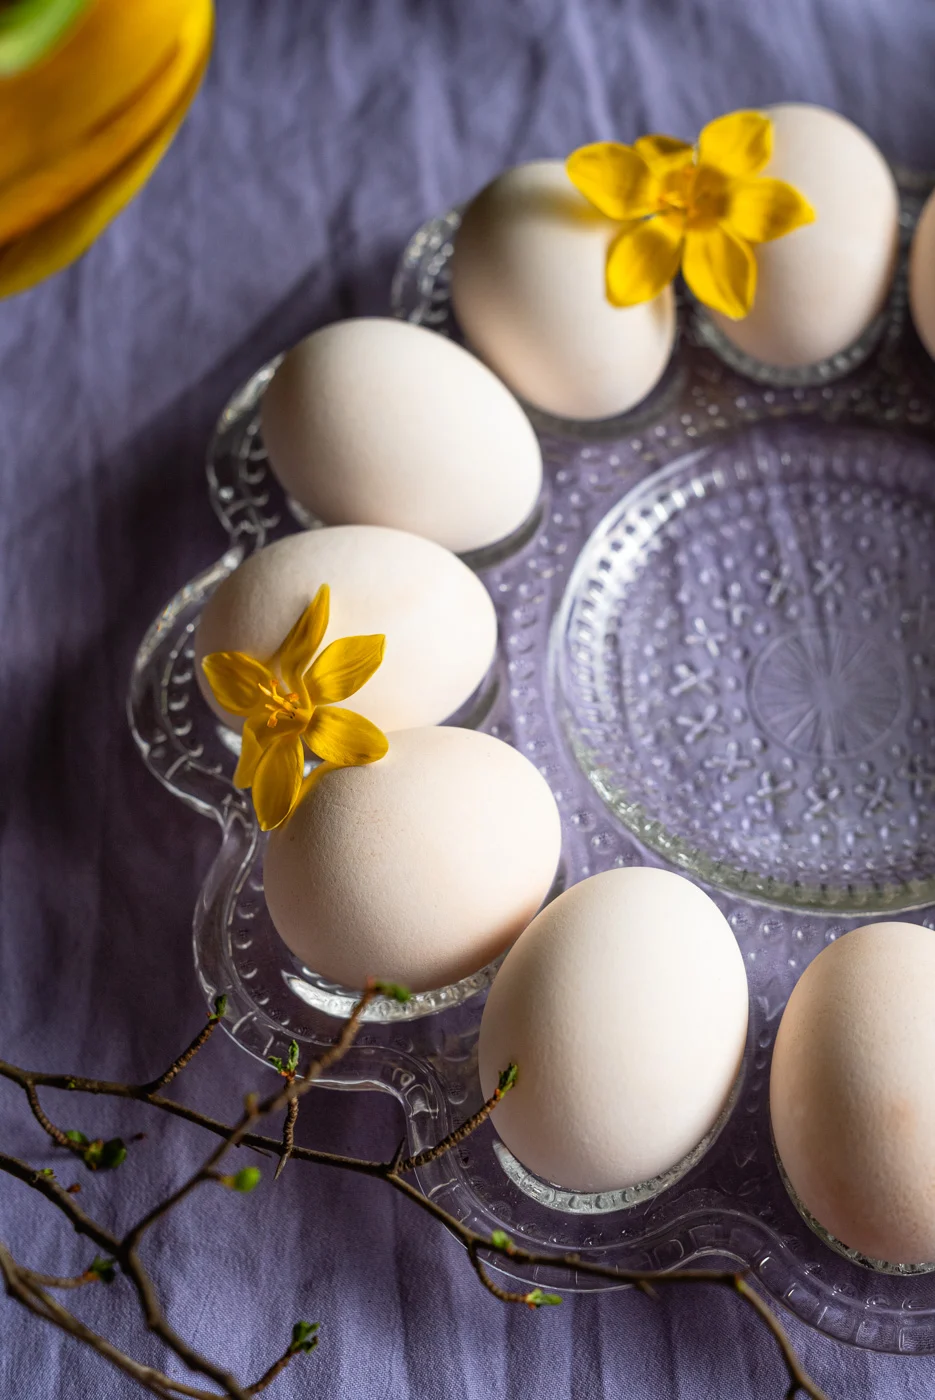
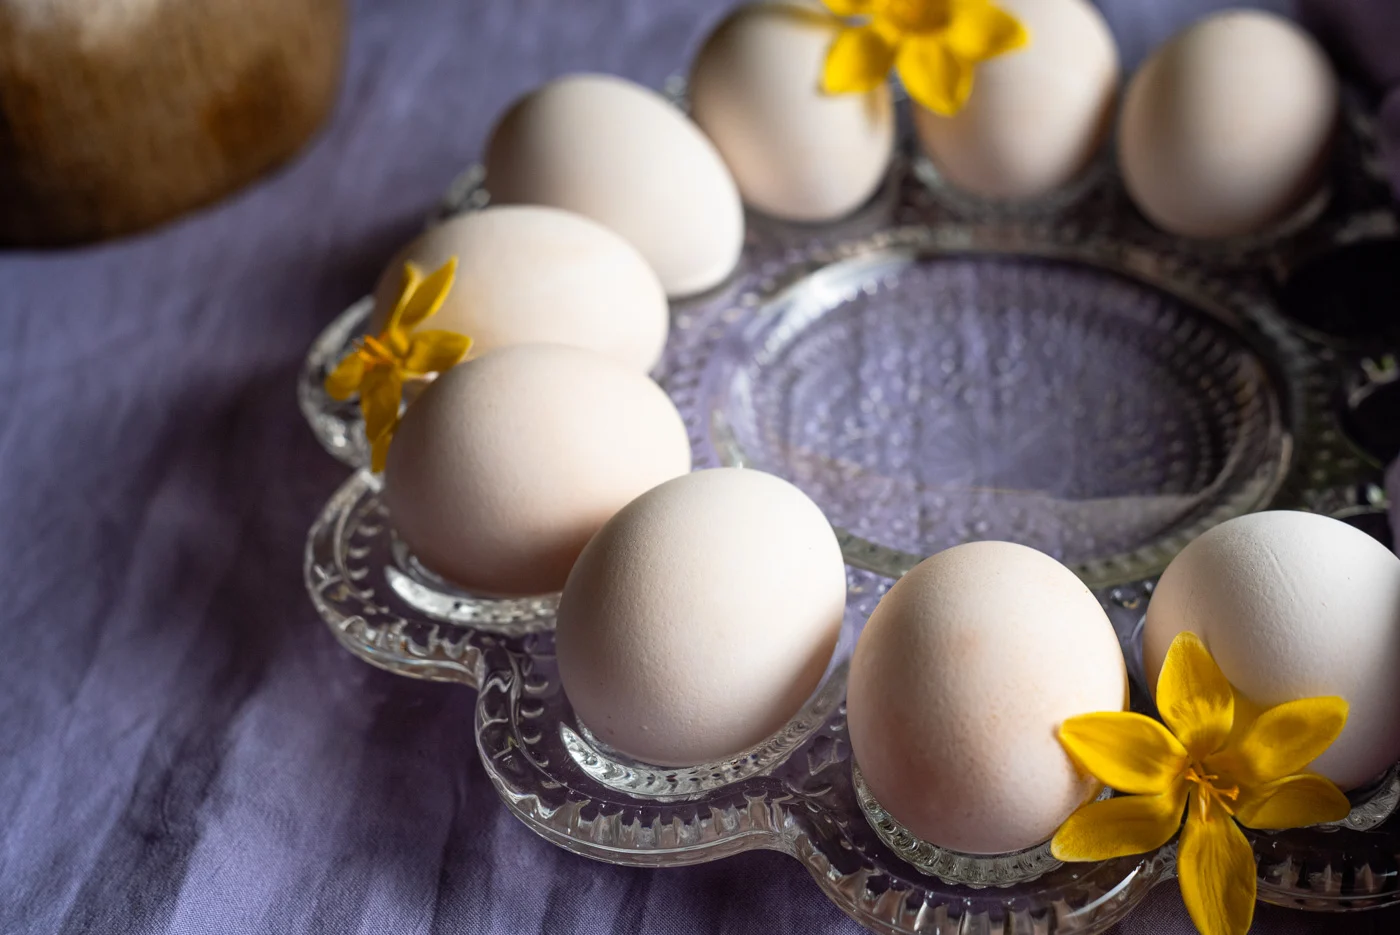
How White Do the Eggs Get
Don’t expect perfectly bright, supermarket-style white eggs. What you get is a soft, natural white, slightly uneven, a little organic-looking, and honestly, much prettier white eggs.
Some eggs will turn lighter than others depending on the shell thickness and original color. And that’s the whole beauty of it!
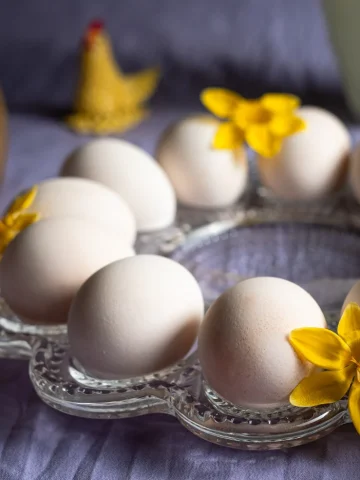
What to Do Next
Now, once your eggs are whitened, you can:
- Dye them in soft pastel shades
- Use natural dyes (onion skins, turmeric, berries)
- Leave them as they are for a minimal, neutral Easter look
- Use a decoupage technique
They take on color more than brown eggs, which is exactly why this step makes such a difference.
Why This Method Is Worth It
In many places (especially across Europe), white eggs aren’t always easy to find. This method gives you the same visual result without having to search for specific eggs or compromise on your idea.
Plus, the slightly imperfect finish actually adds character. It feels less manufactured, more handmade, which fits Easter perfectly.
So, if you try this method, I’d love to hear how it turned out for you! Did your eggs go fully white or keep that natural texture? And if you’re planning your Easter table, don’t forget to explore a few more recipe ideas while you’re here.
More Easter Recipes and Ideas
- PINCA (SIRNICA)- SWEET CROATIAN EASTER BREAD
- EASTER BREAD PUDDING
- HOW TO DYE EASTER EGGS NATURALLY
- LEMON CURD POPPY SEED CAKE
Fuel My Creativity!
Support my work by making a small donation.
How to Naturally Whiten Eggs
Ingredients
- 10 brown eggs
- 400 ml alcohol vinegar
- 800 ml water
Instructions
- In a large pot (about 3 liters), combine the water and vinegar, then add the eggs. Bring everything to a boil.
- Cook for about 15 minutes. During the last few minutes, foam and bubbles will start forming, and this is completely normal. Skim off the foam with a spoon or strainer as it appears.
- Once cooked, transfer the eggs to cold water and let them cool just enough so you can handle them.
- While still warm, gently rub each egg with a rough cloth or sponge until the brown outer layer comes off and the shell turns white. This should come off quite easily.
- Once cleaned, the eggs are ready to be dyed or decorated as desired!
Nutritional information provided is an estimate based on ingredients data and should be used for informational purposes only. Actual nutritional content may vary based on factors such as portion size, preparation methods and ingredients used.
Leave a Reply