Table of Contents
Welcome to the second of my articles in a series about whole wheat flour.
If you’ve ever tried to create your own whole-wheat baking recipes, you probably know that baking with whole wheat flour can be tricky and challenging. Dense texture, overpowering flavors – sound familiar? Yep, I’ve also been there.
But, with a few simple adjustments, you too can achieve baked goods that are just as tender and flavorful as their refined flour counterparts.
In this post, I’m going to share with you all my tips to help you master whole wheat baking. From understanding how whole wheat flour behaves to enhancing its natural flavor and properly hydrating the dough, you’ll learn how to bring out the best in your breads, cookies, and more!
Why You Should Consider Using Whole Wheat Flour in Your Baking
Truly, there are many reasons why one should consider eating more whole wheat baked goods. When I first started to use whole wheat flour in my baking, one of my goals was to have more energy and feel satisfied for longer periods of the day. Since whole wheat has more fiber, it will impact how you feel throughout the day and positively affect your digestion too!
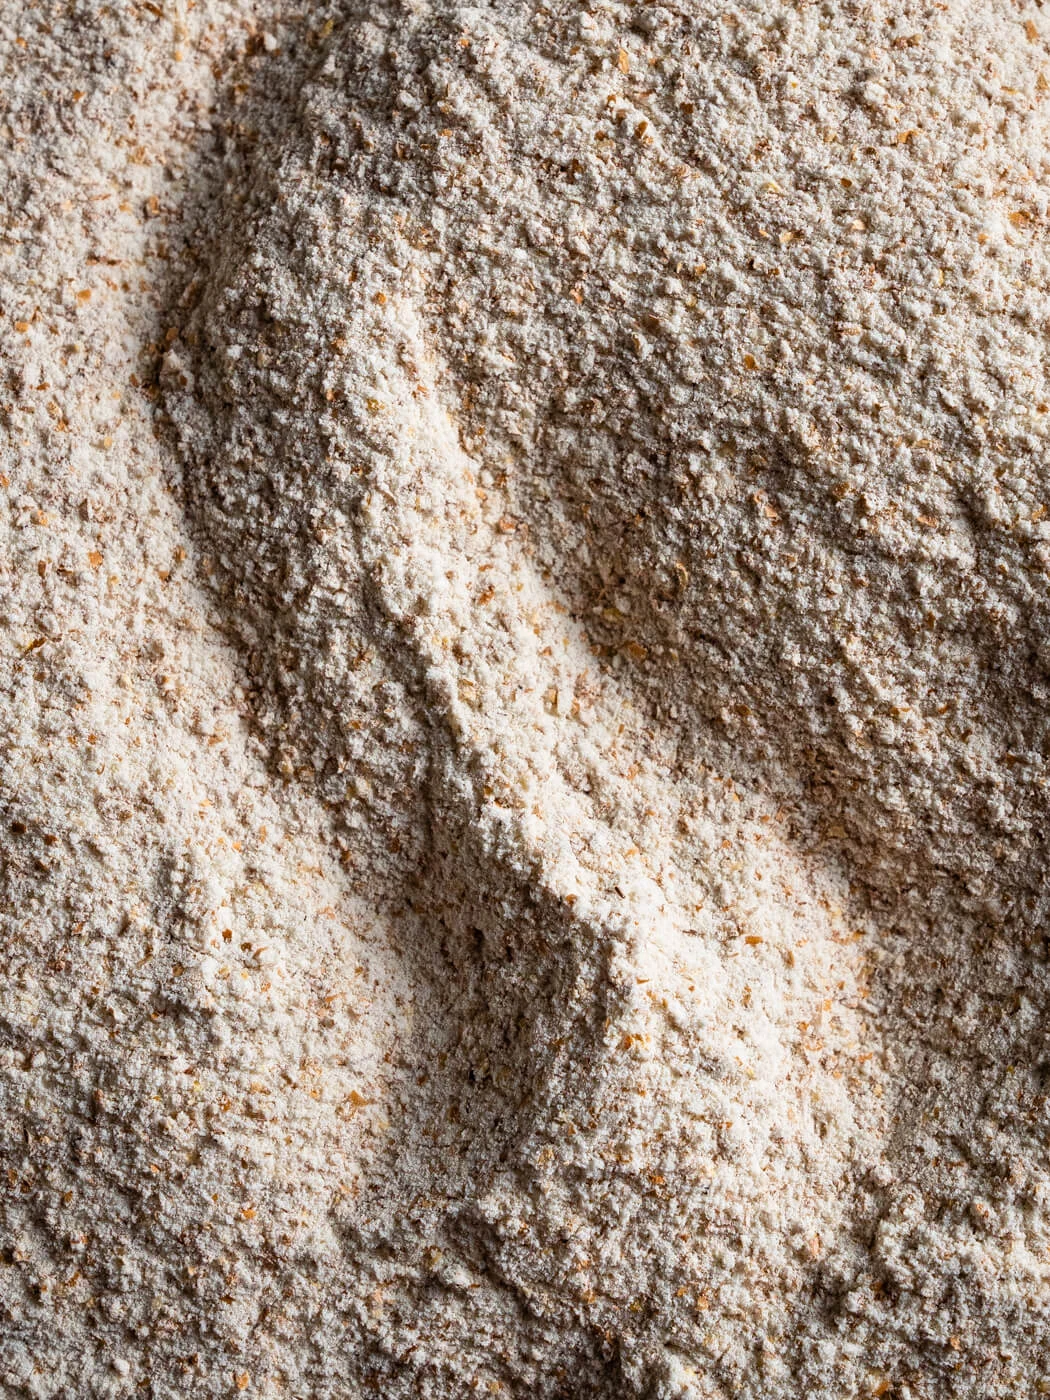
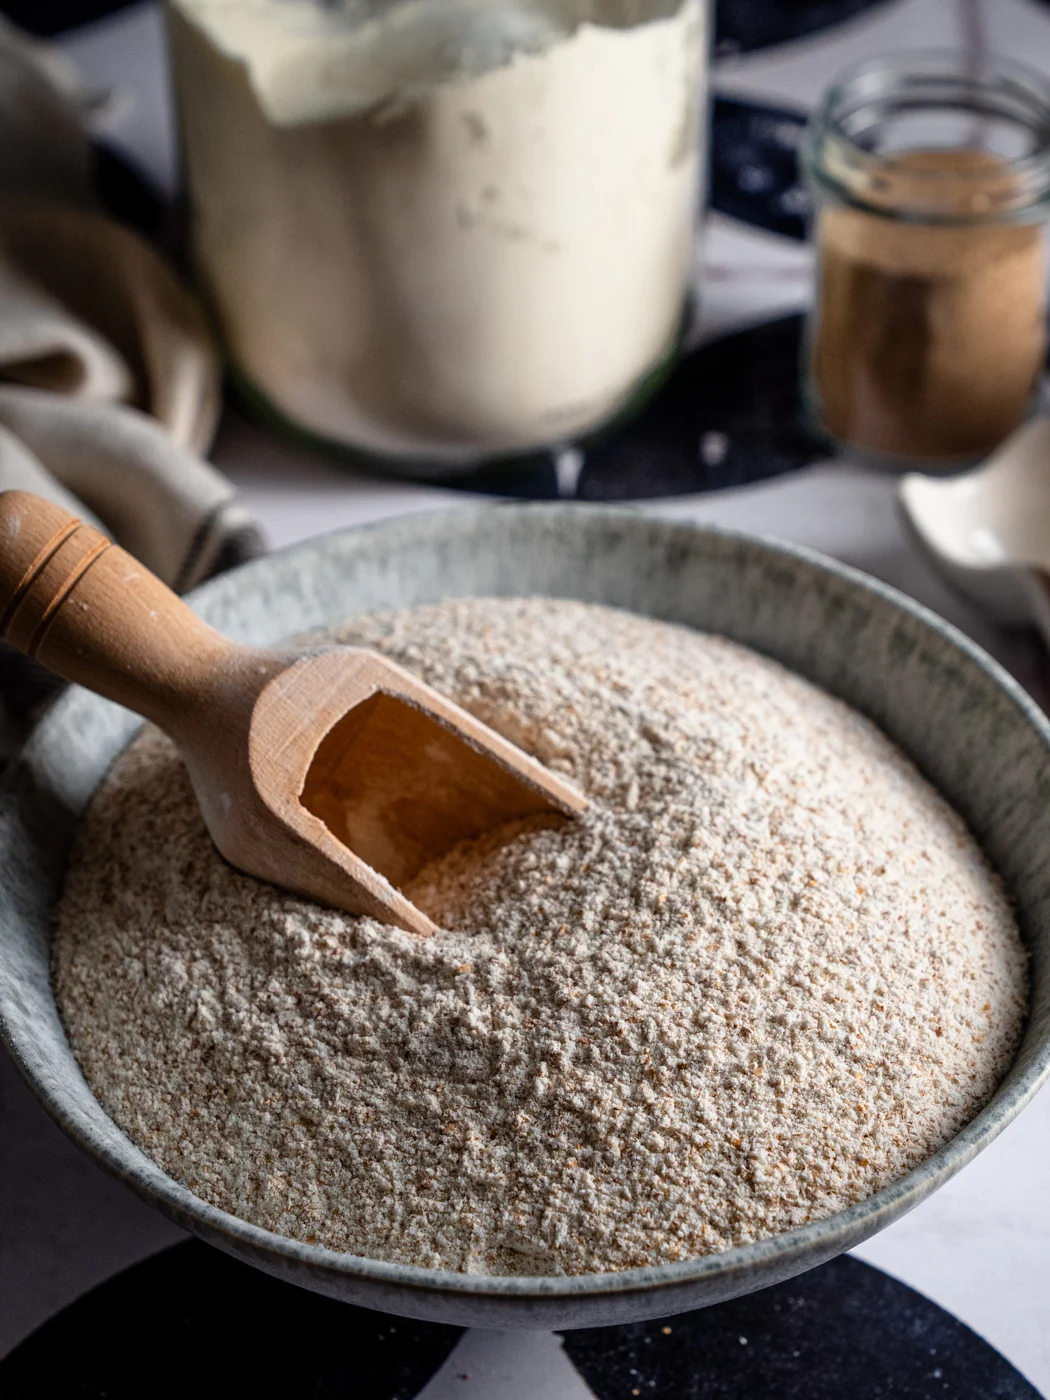
The other main reason I’ve started to buy whole wheat flour is the flavor. Baking with whole wheat flour can add an earthy, nutty flavor and complexity to your baked goods, such as bread, muffins, or even cookies!
How to Bake With Whole Wheat Flour
However, it requires some adjustments to achieve optimal texture and flavor. Here are some tips:
1. Start with a Blend
Replace only part of the all-purpose flour with whole wheat flour (start with 25-50%) to retain a light texture while introducing the benefits of whole wheat.
Gradually increase the proportion as you become familiar with how it affects your recipes.
2. Properly Hydrate the Dough
Before you start your whole wheat baking adventures, there’s one really important thing you need to know: whole wheat flour absorbs more liquid than all-purpose flour. Increase the liquid in your recipe by 1-2 tablespoons per cup of whole wheat flour.
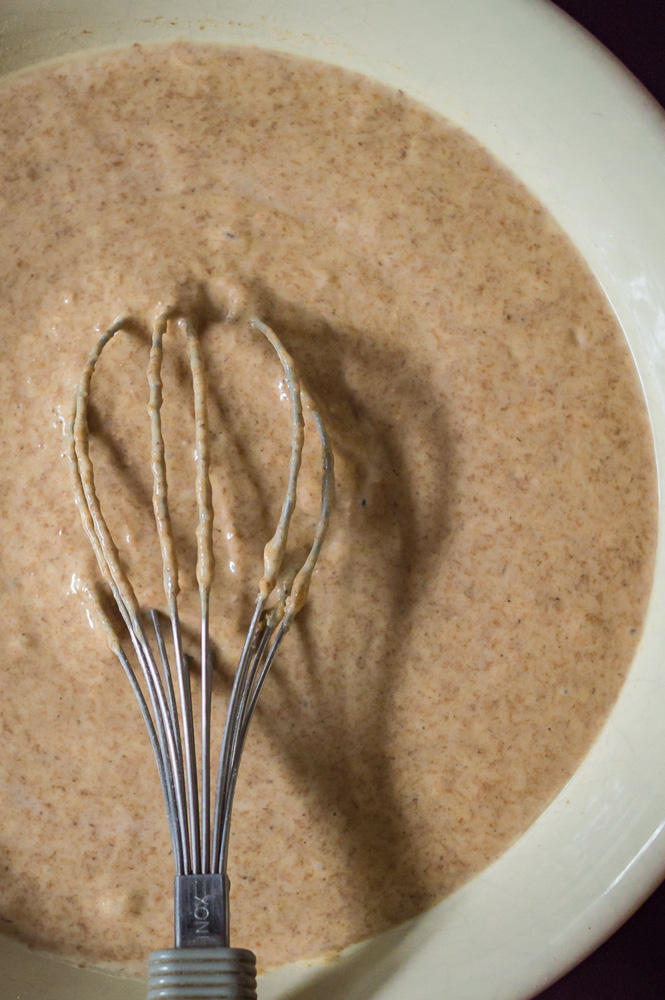
Allow the dough or batter to rest, at least for 20-30 minutes, before baking. This helps the bran and germ in the whole wheat absorb moisture, leading to a softer texture. This is exactly why I leave my whole wheat pancake batter to rest before baking, and this step really makes a difference!
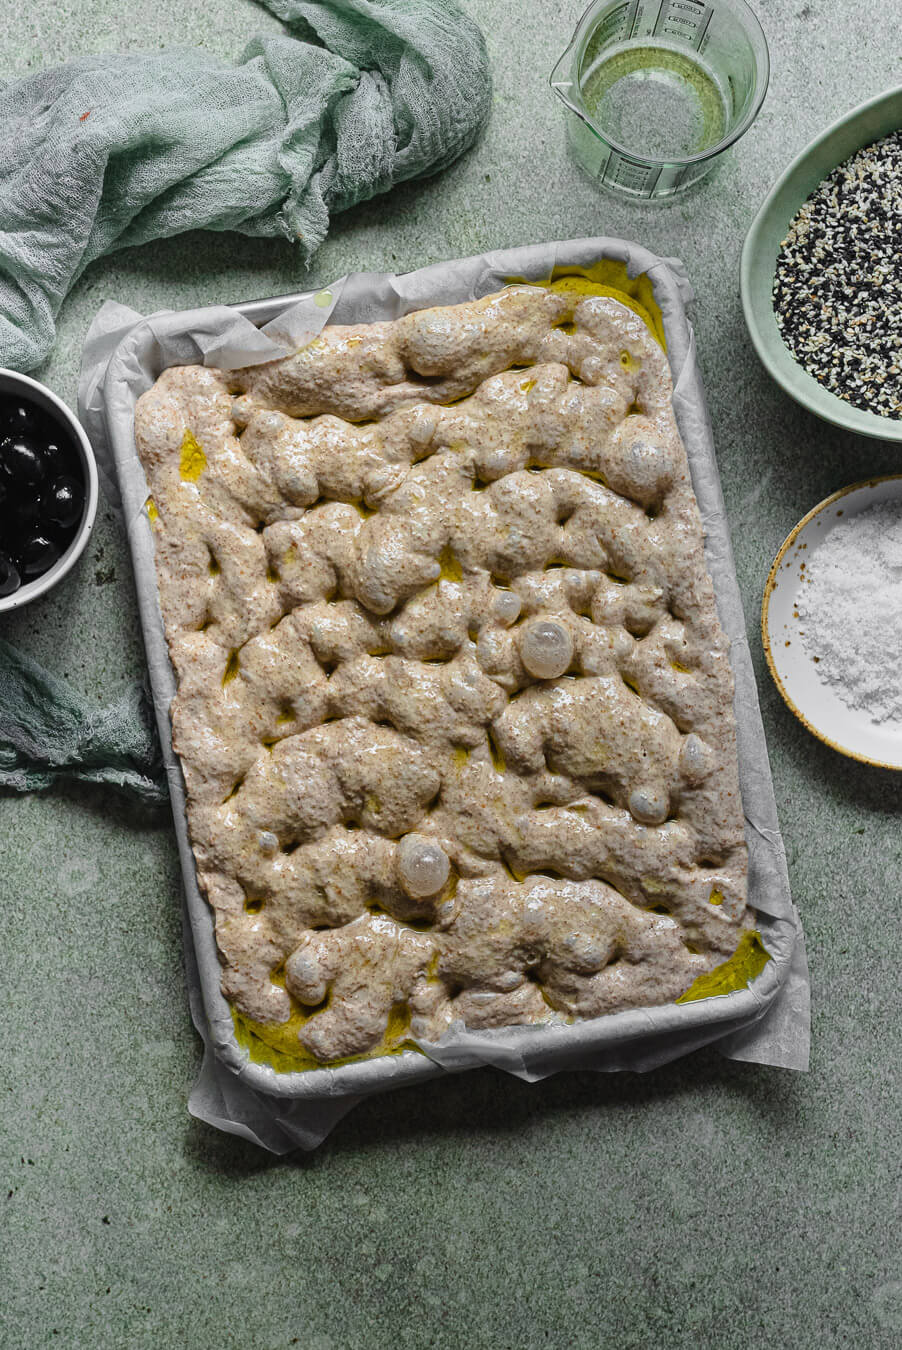
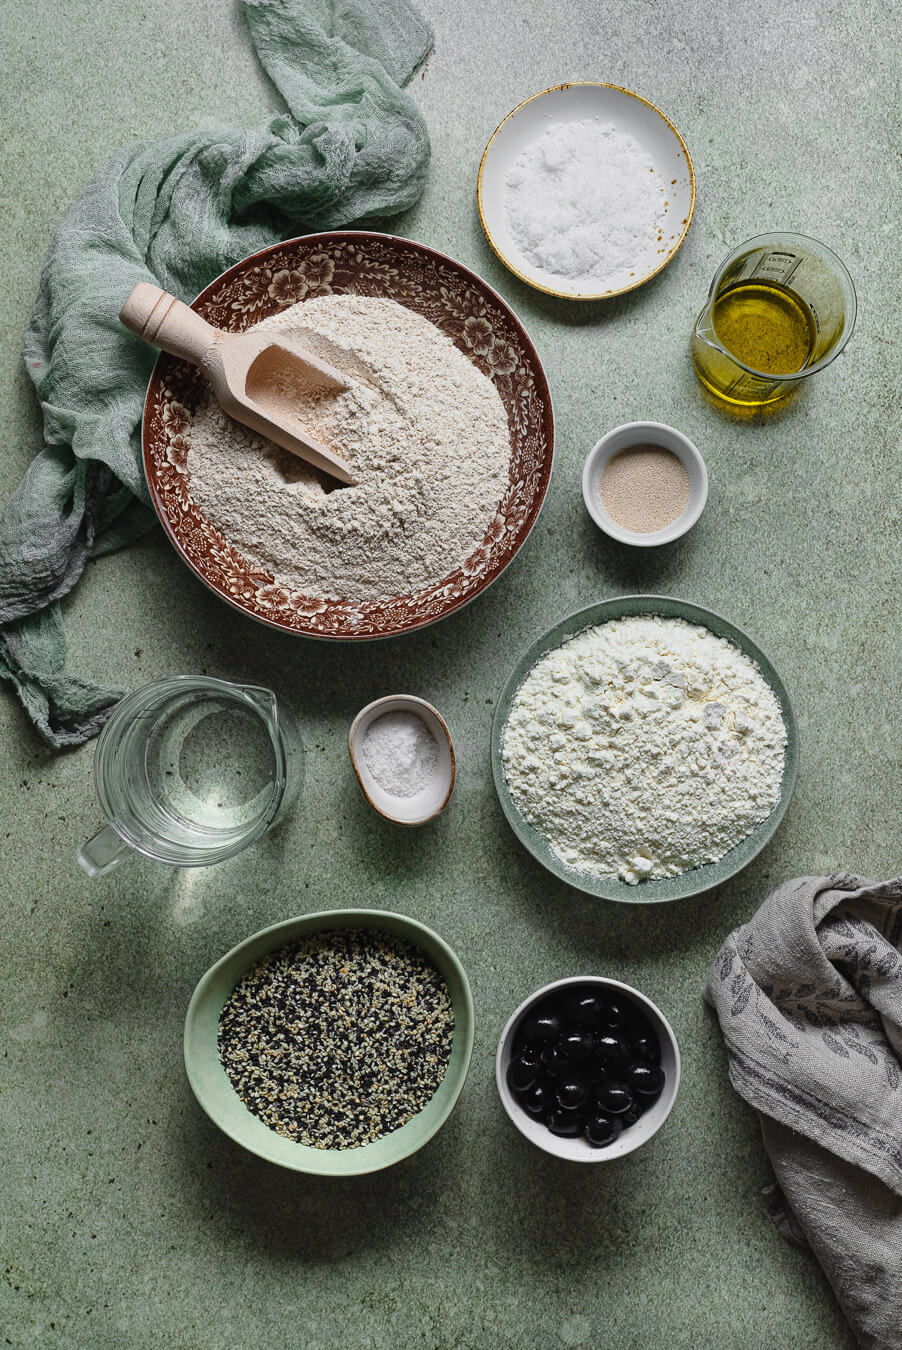
It also affects the final texture of my favorite no-knead overnight whole wheat focaccia and makes it tender on the inside.
3. Consider the Type of Recipe
Whole wheat flour works especially well in recipes with robust flavors, like banana bread, muffins, or chocolate cake.
In delicate recipes, like cookies or pastry, use less whole wheat flour, combining it with all-purpose flour.
4. Add Extra Fat, Sweetener, or Spices
To counteract potential dryness, add an extra tablespoon of fat (butter or oil) or sweeteners, like honey or molasses, for better flavor and moisture. If you want to further enhance the nutty flavor of whole wheat, use warming spices, like cinnamon, nutmeg, cardamom, or ginger. Think of lovely waffles, cakes, or muffins made with whole wheat flour!
5. Bake at Lower Temperatures
Lower the oven temperature by 10°C(around 25°F) to prevent over-browning, as whole wheat flour browns faster than all-purpose flour.
6. Experiment and Adjust
Each recipe may require tweaks. Take notes on what works best for your desired texture and flavor. Really, don’t be afraid to adjust the sweetness or spices, as whole wheat’s nuttier flavor may require a braver approach to shine. Remember, through small changes, you can fine-tune your recipes to perfectly suit whole wheat’s unique characteristics.
Some Great Whole Wheat Recipes
If you’re looking for inspiration on how to include more whole wheat in your everyday eating, take a peek at these recipes from my blog:
- NO-KNEAD WHOLE WHEAT OVERNIGHT FOCACCIA
- WHOLE-WHEAT KEFIR BANANA BREAD
- SOFT AND FLUFFY WHOLE-WHEAT PANCAKES
- WHOLE-WHEAT PASTA ARRABBIATA
More About Whole Wheat Flour
Give some of these tips a try today! Also, let me know what you think of this article in the comments. Snap a photo of your meals and tag @foodandmoodblog on Instagram-I’d love to see your creations!
Leave a Reply