Table of Contents
Key Takeaways
- This 5-ingredient easy white bread recipe is a great one for beginners who have never made their own bread before.
- You will learn the basic facts about yeast and bread making, which will help you successfully make healthy homemade bread.
- This bread is made from basic ingredients that you probably have in your pantry, with no additives, enzymes, or emulsifiers, and no added sugar.
- You will also learn to store, freeze, and thaw homemade bread.
Want to learn to bake simple yeast bread, but you feel overwhelmed and don’t know where to start? Perhaps you once tried to bake your own bread, but it felt like a failure? Then this easy white bread recipe for beginners is perfect for you! With a soft interior and beautiful crust, this recipe resembles homemade white bread that our mothers and grandmothers used to bake.
Why This White Bread Recipe is Perfect for Beginners
I’ve been baking my own bread for over six years and have experimented with various types of flour, kneading techniques, and baker’s formulas. Nowadays, especially since I’ve become a mom, I try to bake bread regularly, especially sourdough bread, but for a long time, I’ve wanted to come up with a basic bread recipe that EVERYONE could make at home.
Growing up, I’ve always eaten this type of bread. Made from all-purpose white flour, nothing fancy, no special equipment. After many hours of testing and many baked loaves of bread, I’m happy to finally share this recipe with you.
This white bread recipe for beginners works because:
- It’s a well-tested, detailed recipe with all the tips and tricks you need to know as a beginner in baking your own homemade bread.
- It’s made with only basic ingredients that are available to everyone (no seeds, no eggs, no special flours);
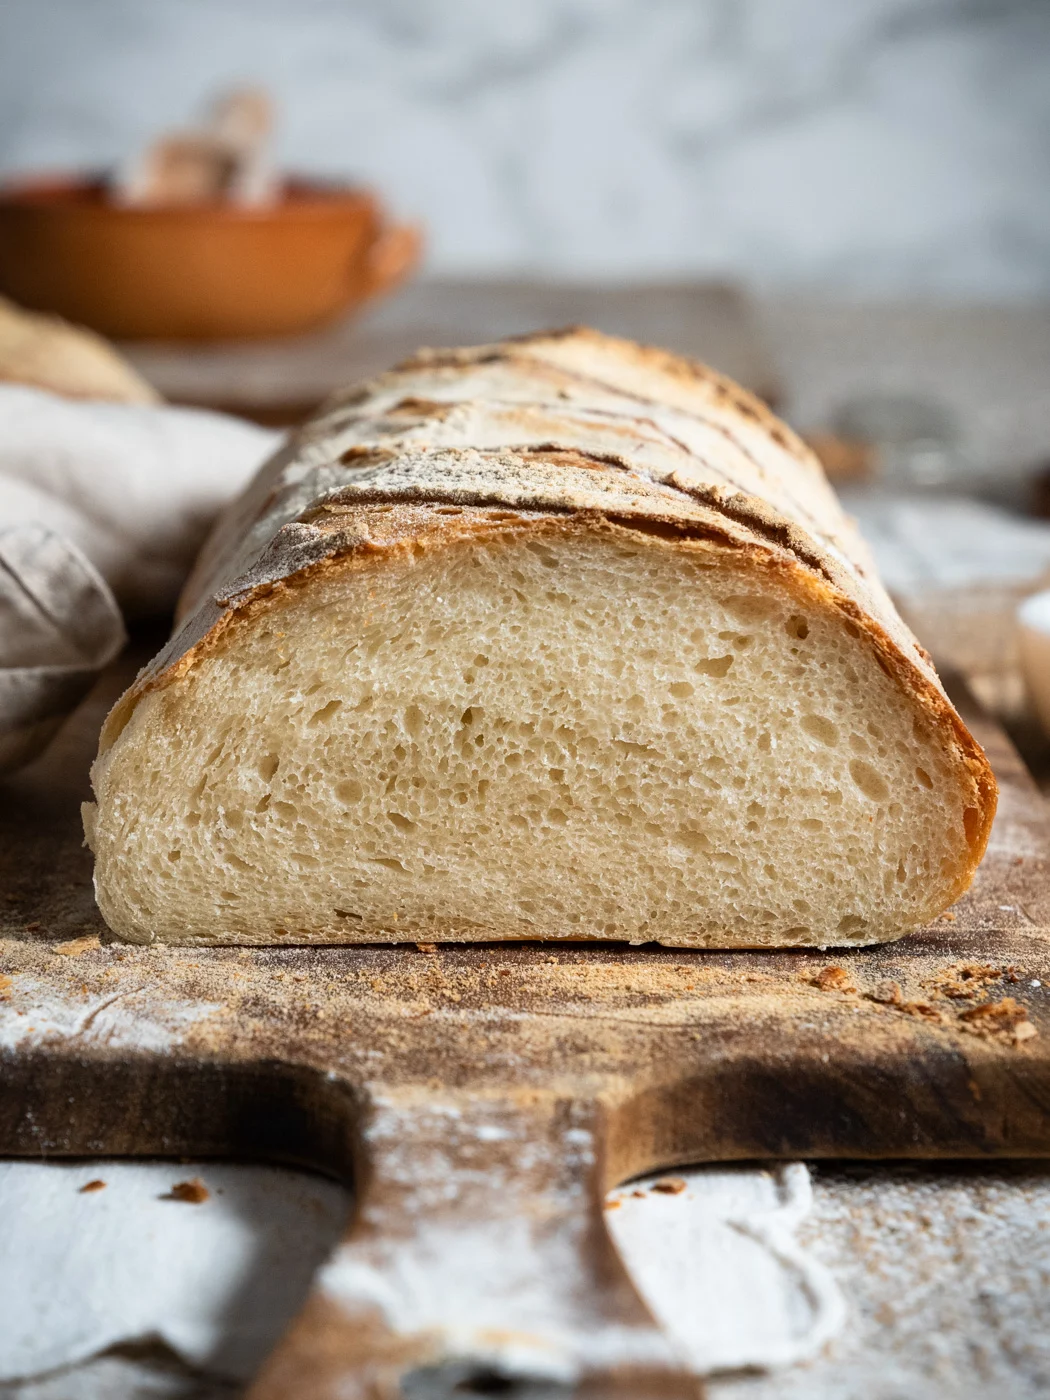
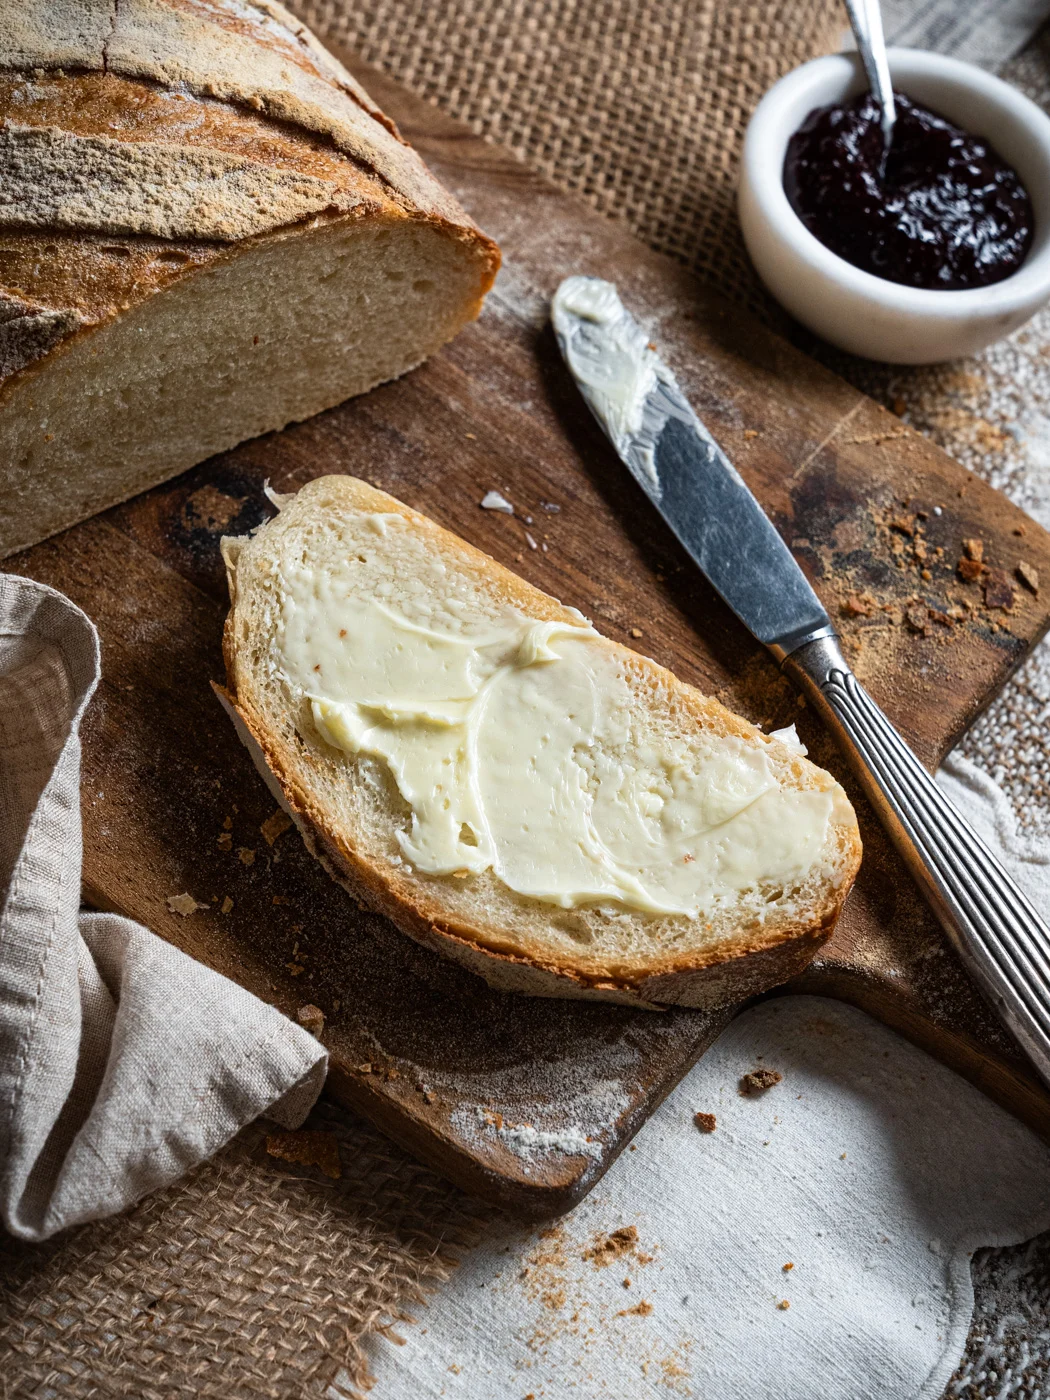
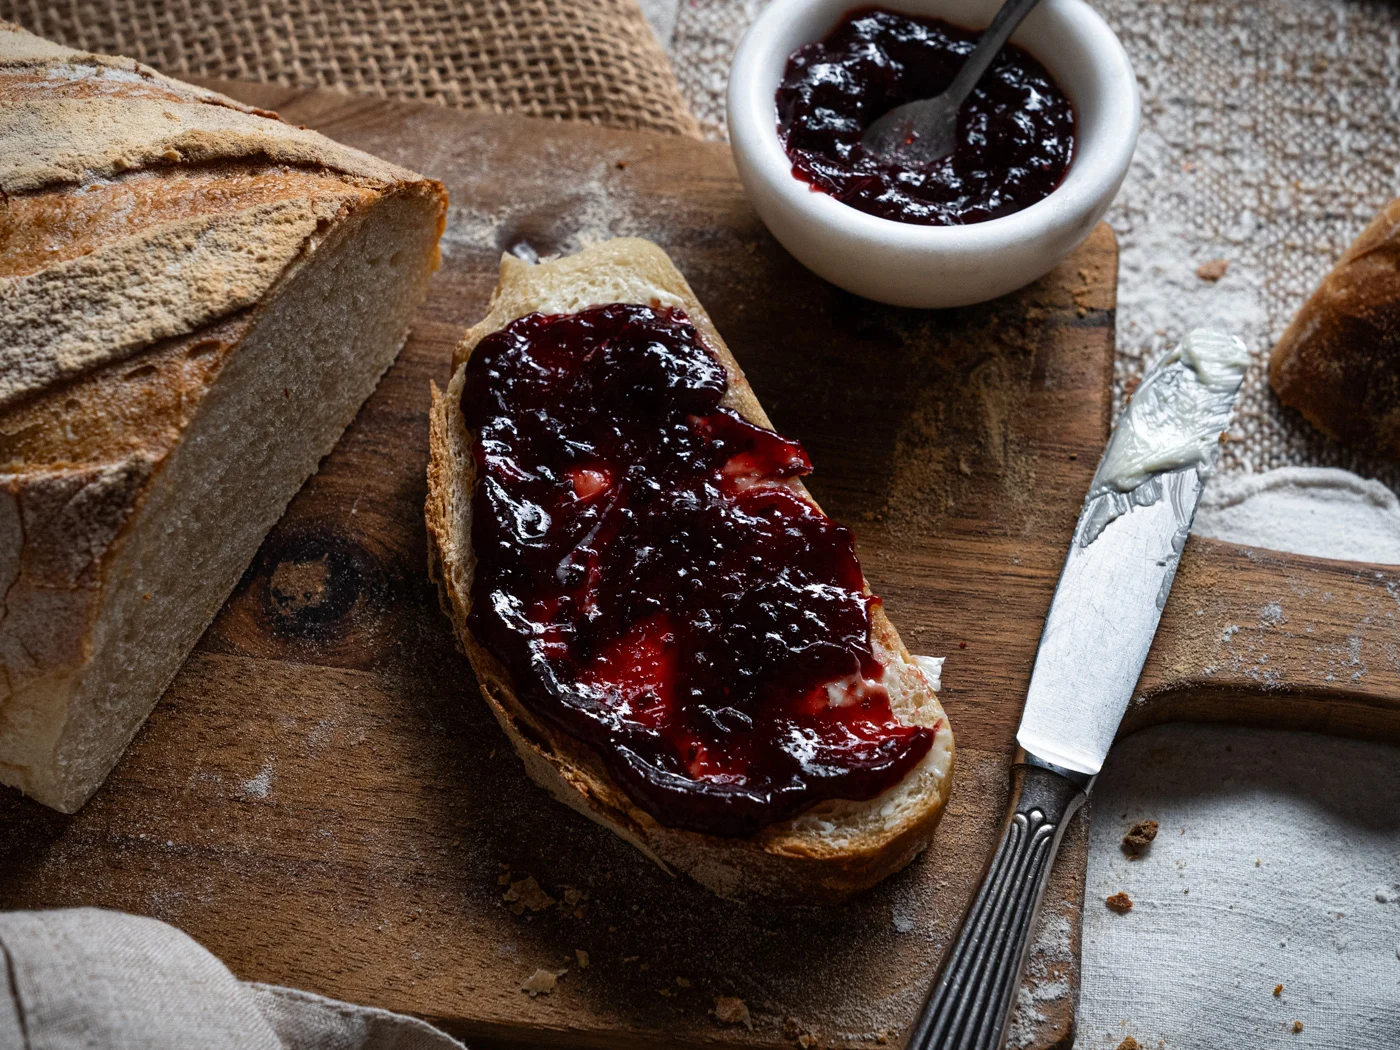
- This bread is soft on the inside and a bit crusty on the outside. Its mild flavor pairs well with many different ingredients and meals, and it can easily be used as a side dish to many meals!
Baking With Yeast: What Should You Know
If you’ve never worked with yeast before, here are a few things you should know. When baking with yeast, several factors can impact the success of your baked good.
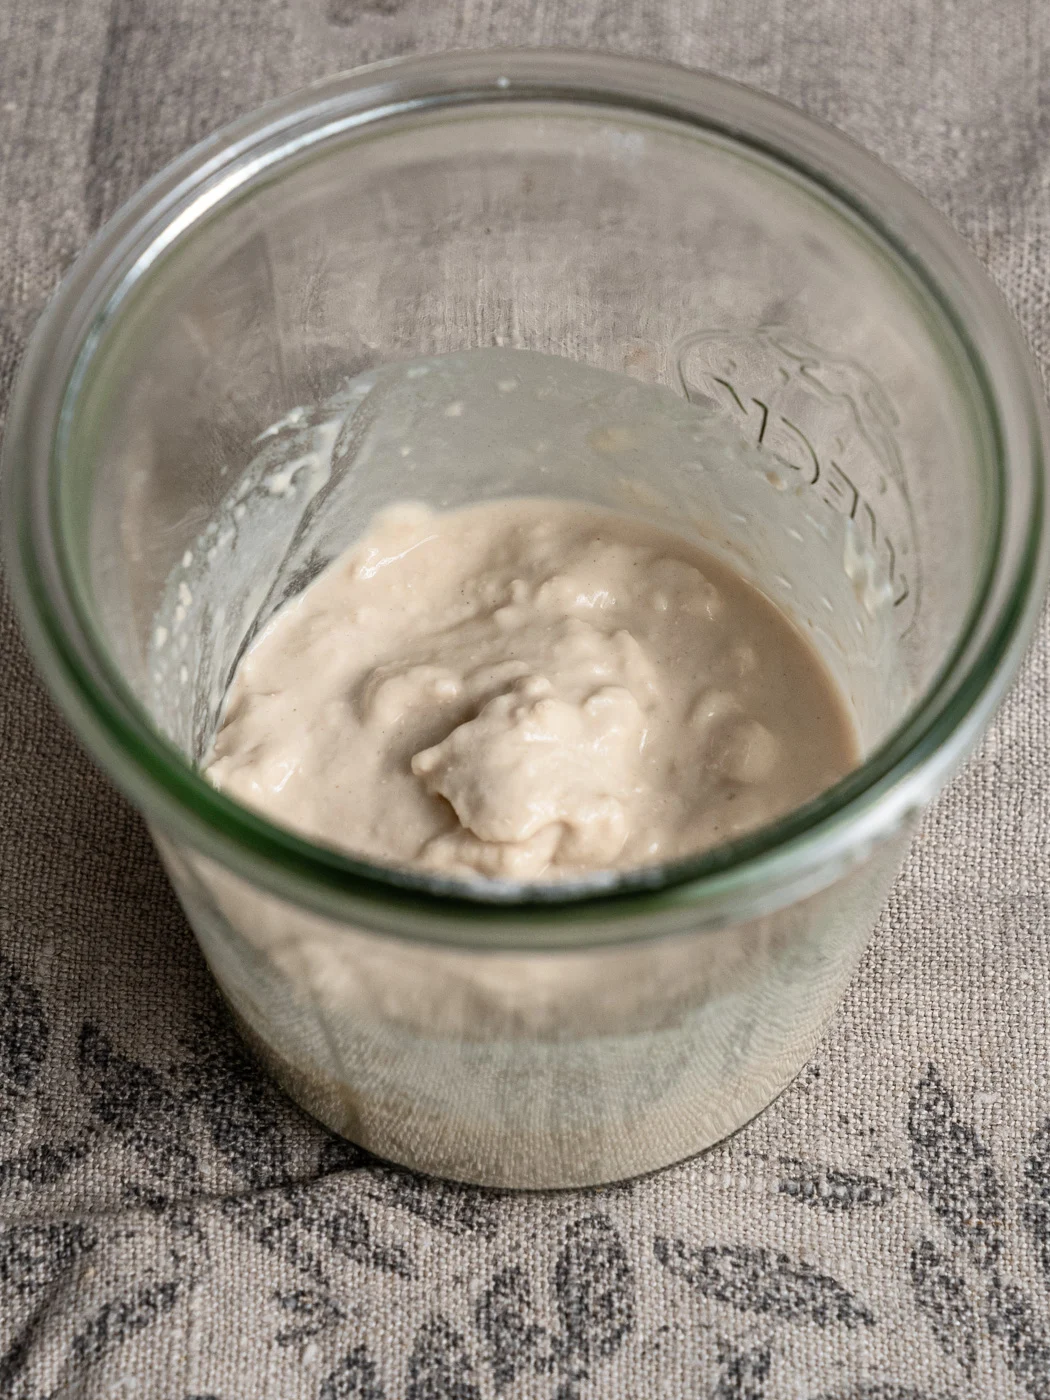
- Types of yeast – remember, yeast is a living organism, and you need to handle it carefully. Treat it like a cute little pet of yours, and it’ll show its gratitude by providing you with the beautiful bread. There are a few types of yeast, and each requires different handling. When using active or fresh yeast, you must proof it to be sure it’s alive. Although instant yeast can be mixed directly into dry ingredients without proofing, over the years, I have habitually proofed all types of yeast I work with. The yeast will become bubbly when mixed with some water and flour/sugar. That’s a happy sign that you can start making your bread!
- The ideal temperature for activating yeast – you probably know that yeast thrives at warm temperatures. But be careful: too hot water (above 60°C/140°F) will kill the yeast. Cold water is also a big no-no: at too cold a temperature, yeast will not activate. The ideal temperature for activating yeast would be between 35-37°C/95°F-99°F.
- Kneading the dough – helps develop gluten, which gives the bread structure and helps it rise properly. You can knead the dough by hand, in a stand mixer, like I do with my brioche burger buns recipe, or using a hand mixer with dough hooks (for me, that last option).
- Proofing time – after kneading the dough until smooth and silky, yeast dough will typically need two rises: the first after mixing all ingredients, and the second after shaping. Sometimes yeast will do its magic faster (especially on those hot, humid summer days), and sometimes it will need more time.
Easy White Bread Ingredients

So, what are the ingredients for this easy white bread? You’re going to need:
- Flour – I’m using European-style all-purpose flour. This type of flour in my country typically has between 9,5 to 11 g of protein in 100 grams. Since I developed this recipe for total beginners, I didn’t want to complicate the recipe with special flour, like strong bread/Manitoba flour. However, when buying your bag of flour in the store, I highly recommend searching for nutritional values on the package and buying the one that has at least 11 g of protein per 100 g of flour.
- Yeast – I’ve opted for active dry yeast in this recipe since it’s something you can always have in your cupboard. It has a longer shelf life than fresh yeast in cubes, but you could also use fresh yeast. Instant dry yeast will work for this recipe, too.
- Water – you need regular tap water for this bread recipe. As mentioned above, the water temperature is very important; keep it around 35°C (95°F).
- Salt – we need it for flavor and to improve the texture of the bread and a beautiful crust. It also helps to prevent bread from spoiling.
- Oil – I like to use extra-virgin olive oil in this bread, but any neutral oil will do the trick. You could use canola or sunflower oil, too. It softens the bread and helps retain moisture, which means a longer shelf life of bread.
How to Make This Beginner’s White Bread
Check out the recipe card at the end of this post. It has the exact amounts of ingredients and detailed recipe instructions! Please note that all ingredients for this bread are measured in grams. In the recipe card, you can find US measurements, but I highly recommend using a kitchen scale for this recipe.
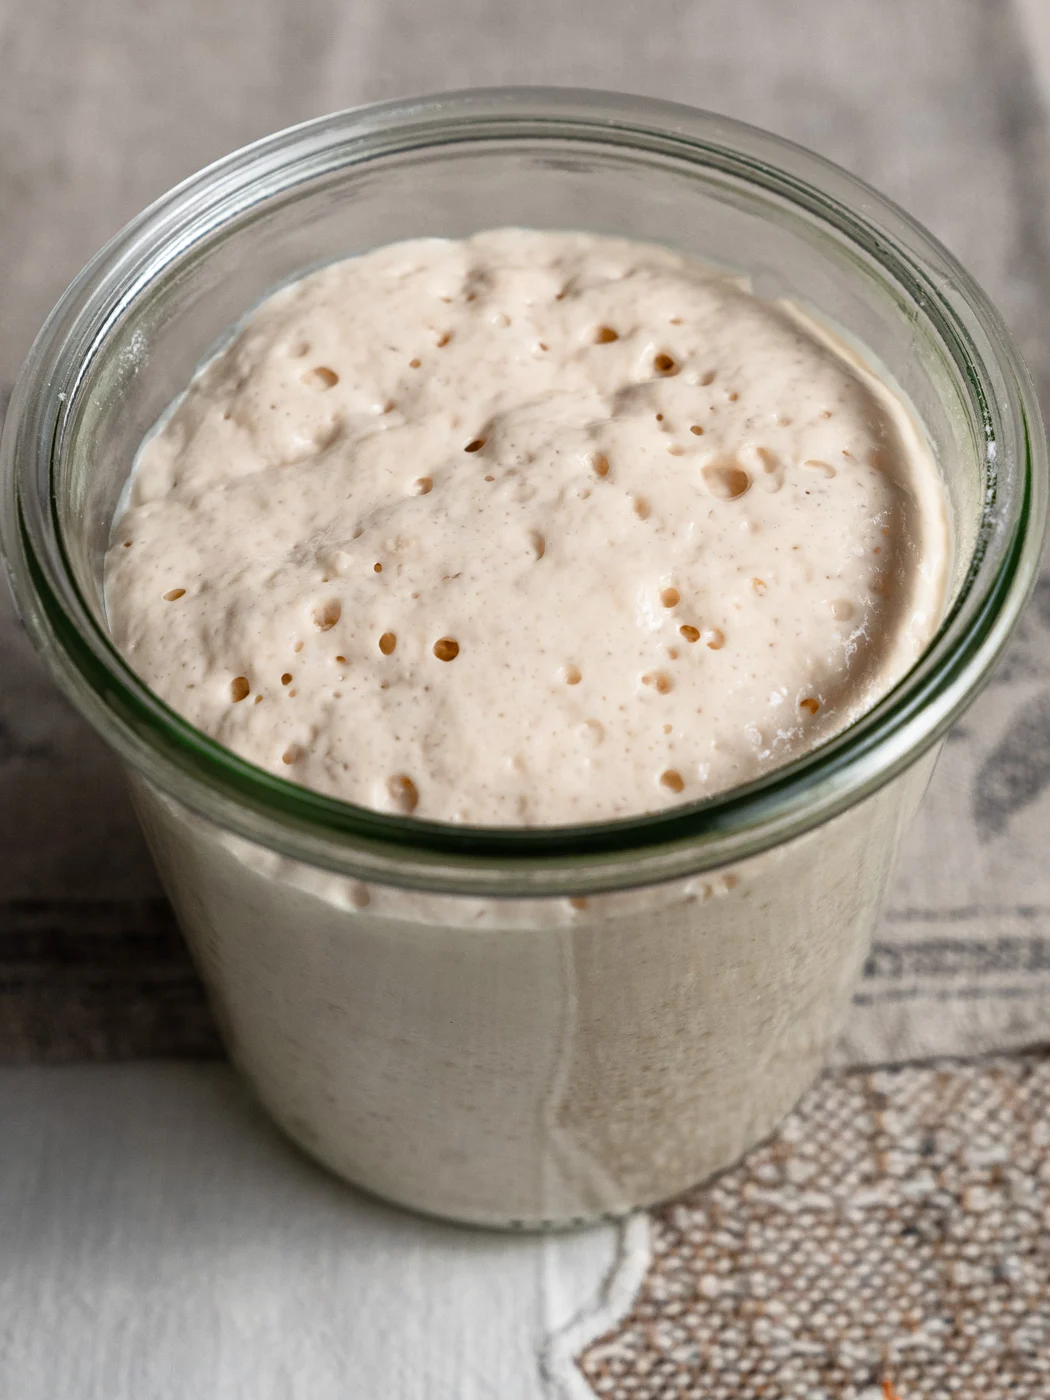
1. Proof the Yeast
Mix flour, yeast, and water with a small whisk and cover. Leave for about 10 minutes until it doubles in size and becomes bubbly. If the yeast doesn’t show any signs of life (no bubbles and rising), the yeast has expired, and you need to do this step again.
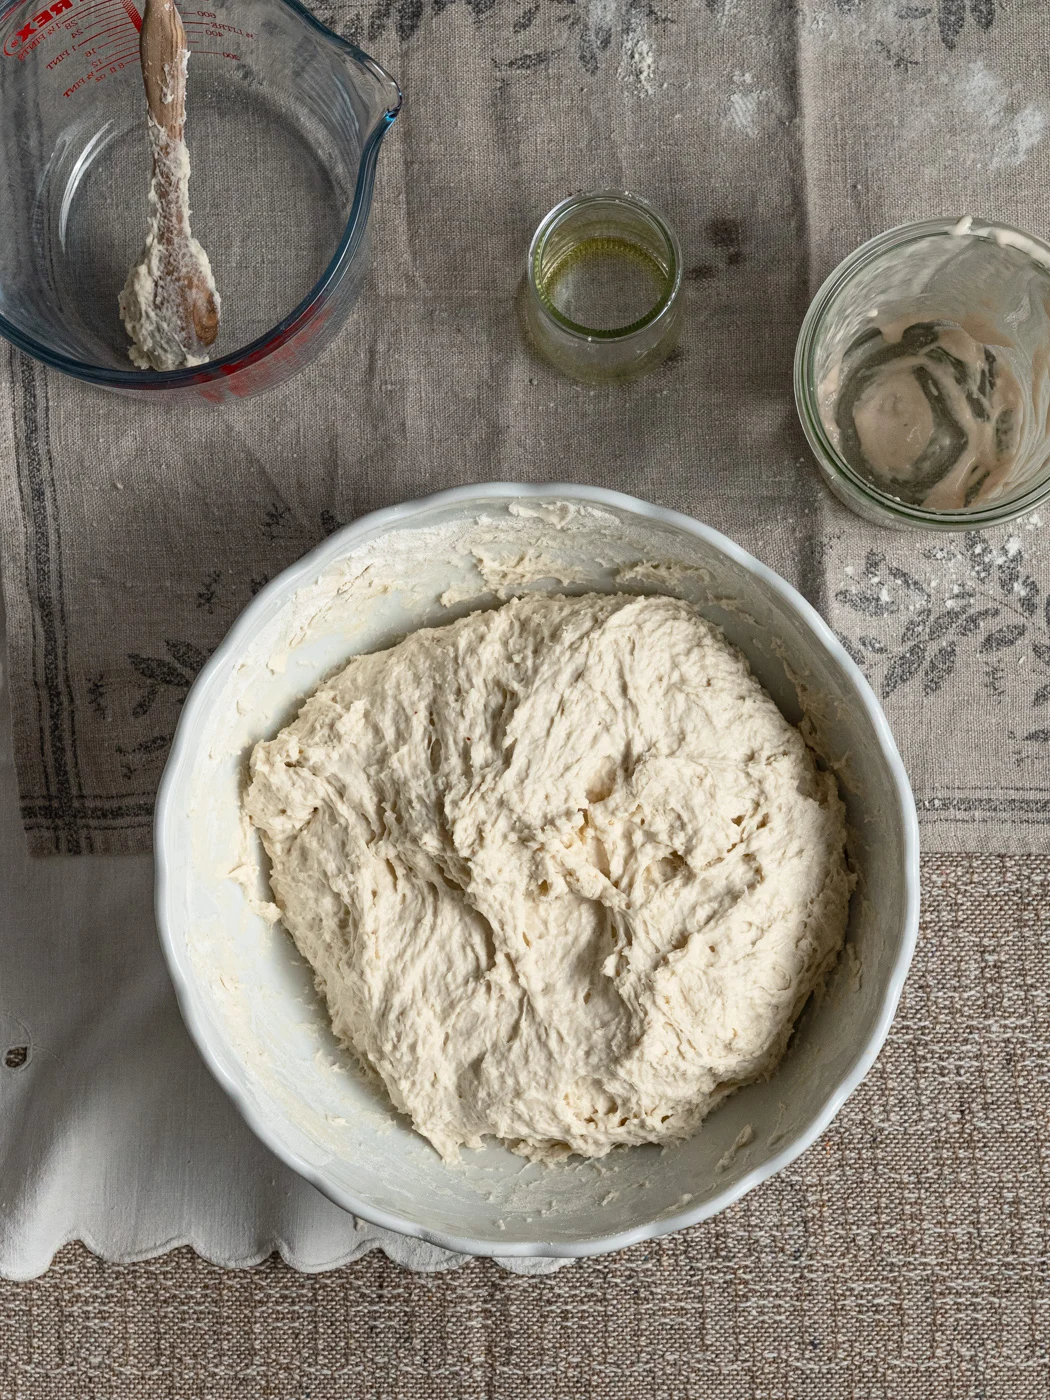
2. Combine All Ingredients Into A Dough
Take a really big bowl and sift flour and salt together. Make a well in the center and start adding the wet ingredients: activated yeast, the rest of the water, and oil. Do this gradually and stir with a wooden spoon to incorporate all ingredients. The dough should feel sticky and a bit shaggy. Cover with a lid and leave for 10-15 minutes.


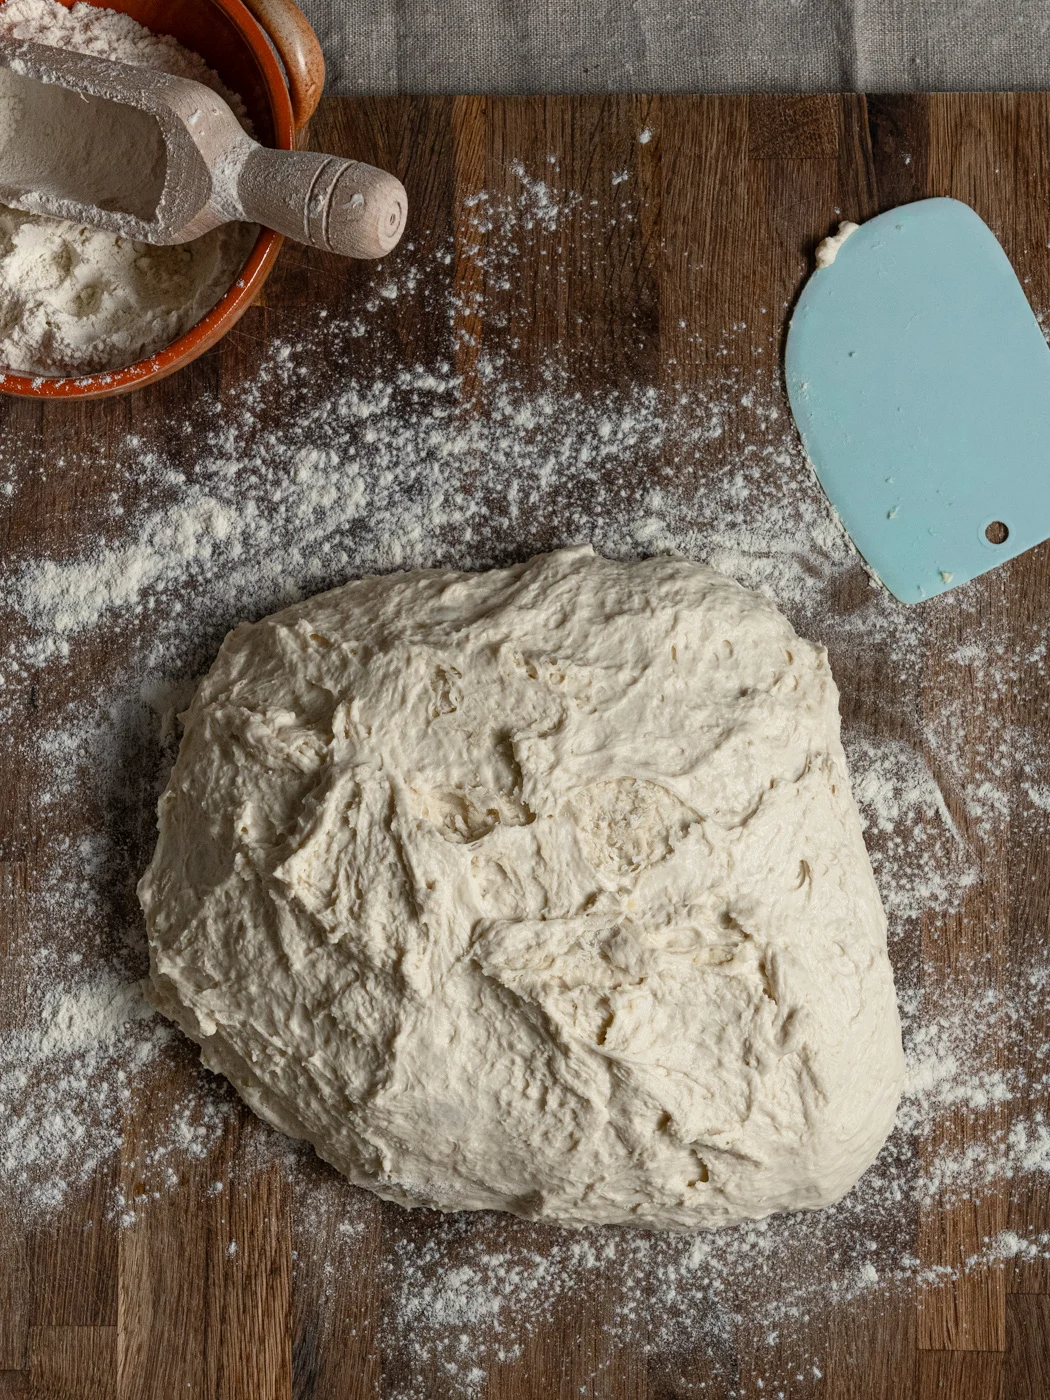
3. Knead The Dough
Tip the dough onto a generously floured working surface. Make sure you have plenty of room to work. Use the heel of your hand to push the dough away from you. Fold the dough in half towards you, then give the dough a quarter turn. Repeat this process until the dough feels like a smooth, elastic ball. It’s a big and heavy dough, so it should take some time. Don’t give up until the dough becomes beautifully smooth!
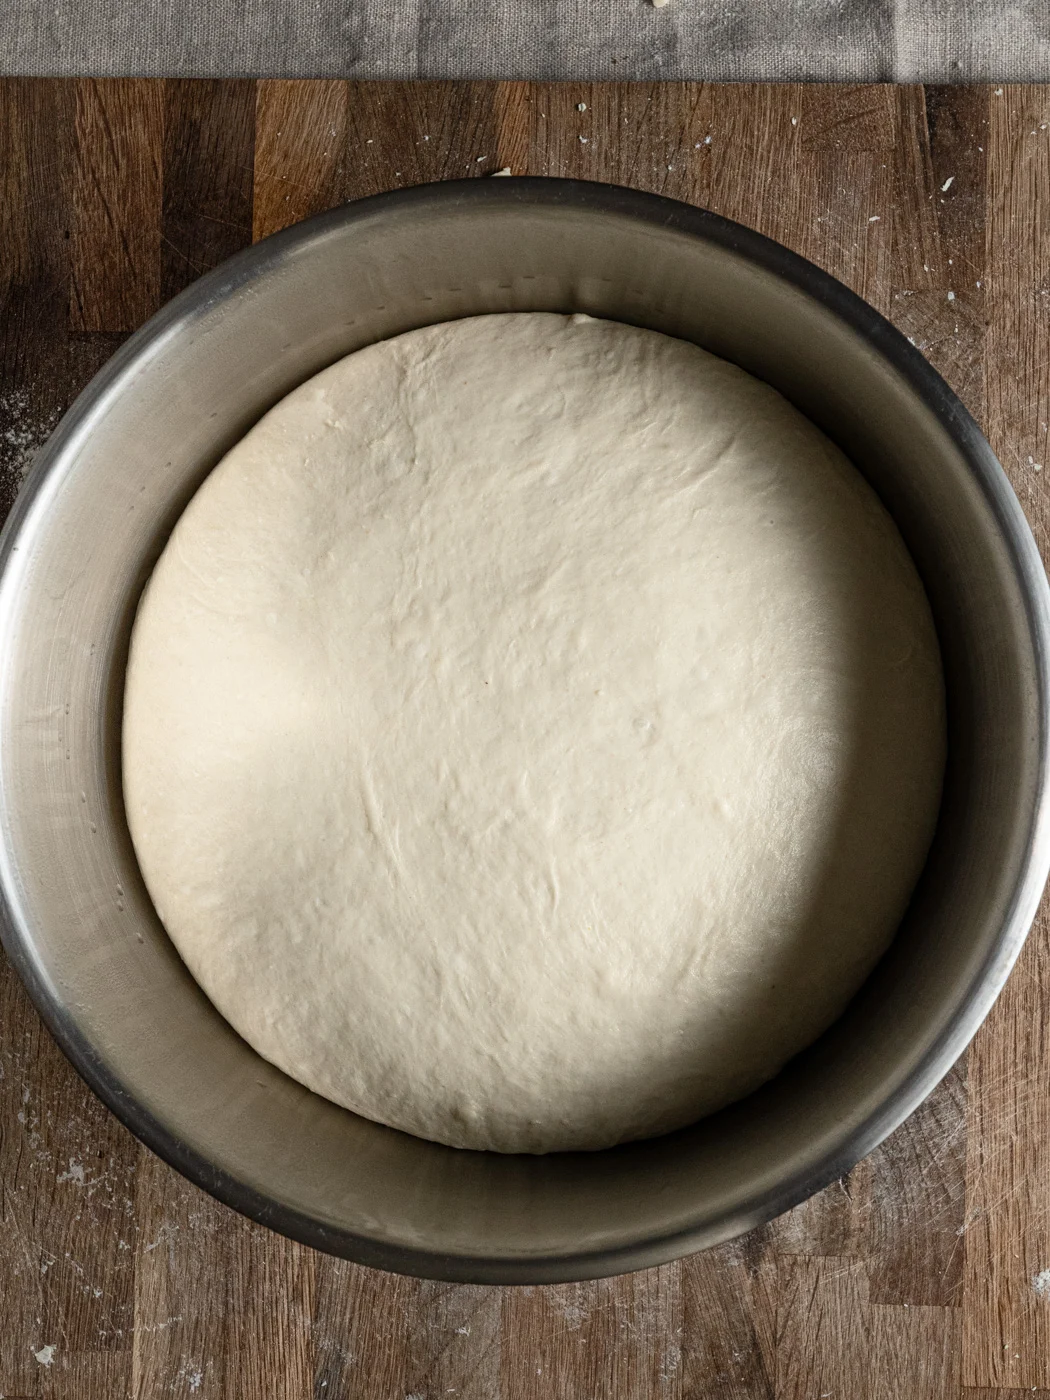
4. First Rise
Lightly oil the bowl, transfer the dough, and cover it with a damp kitchen towel and a lid. It’s ready for the next step when it doubles in size. This should take 1-2 hours, depending on the room temperature. During the summer, everything happens more quickly, so keep an eye on the dough!
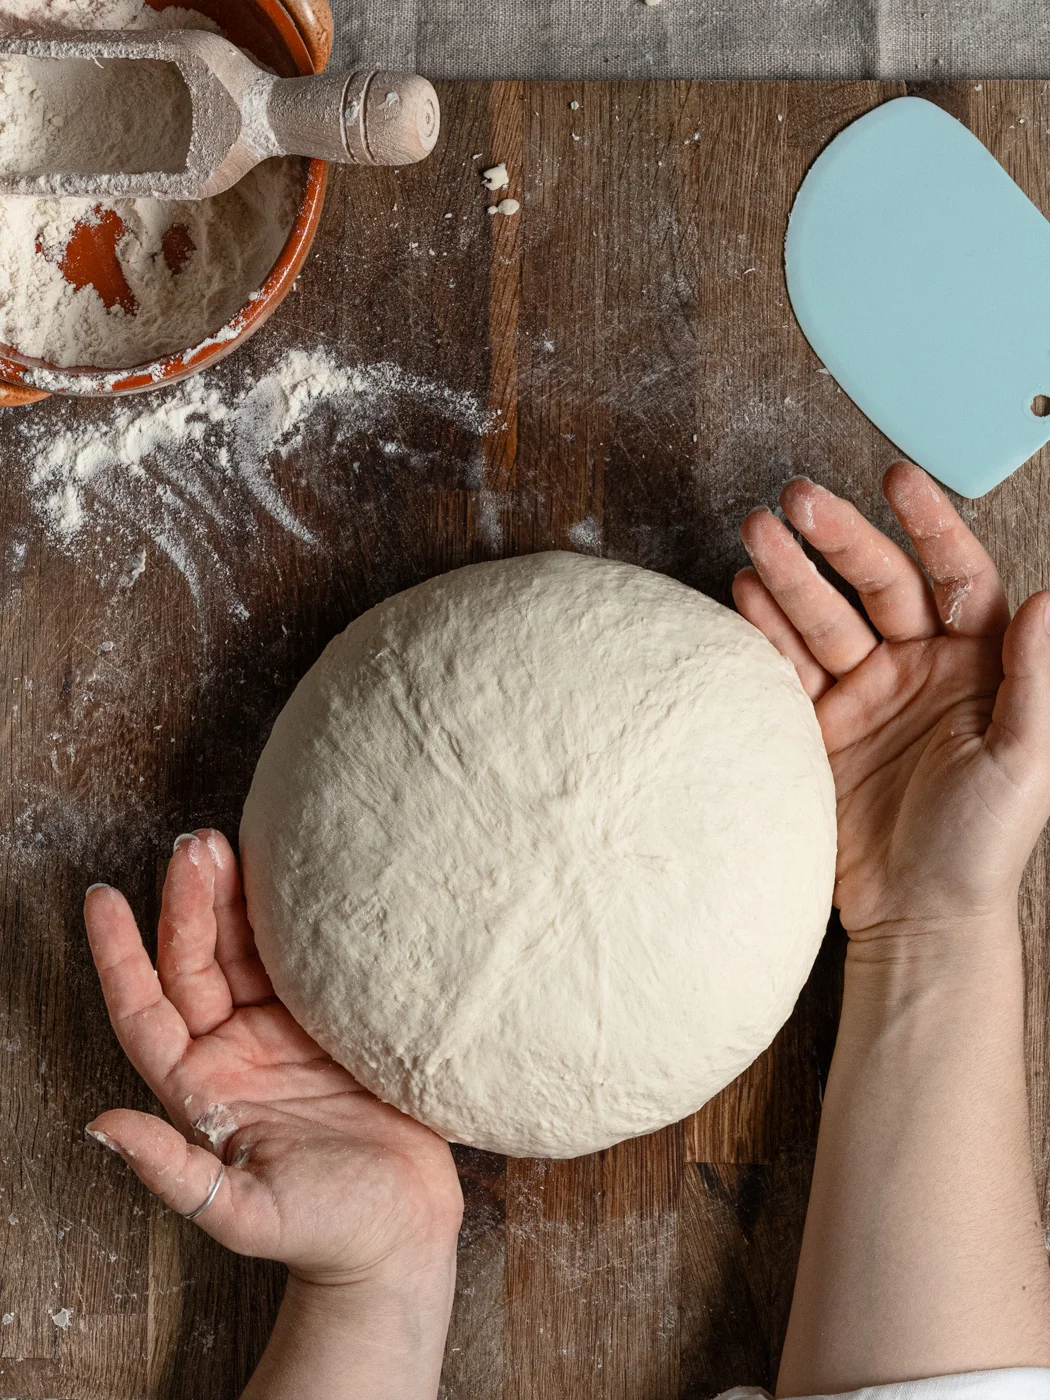
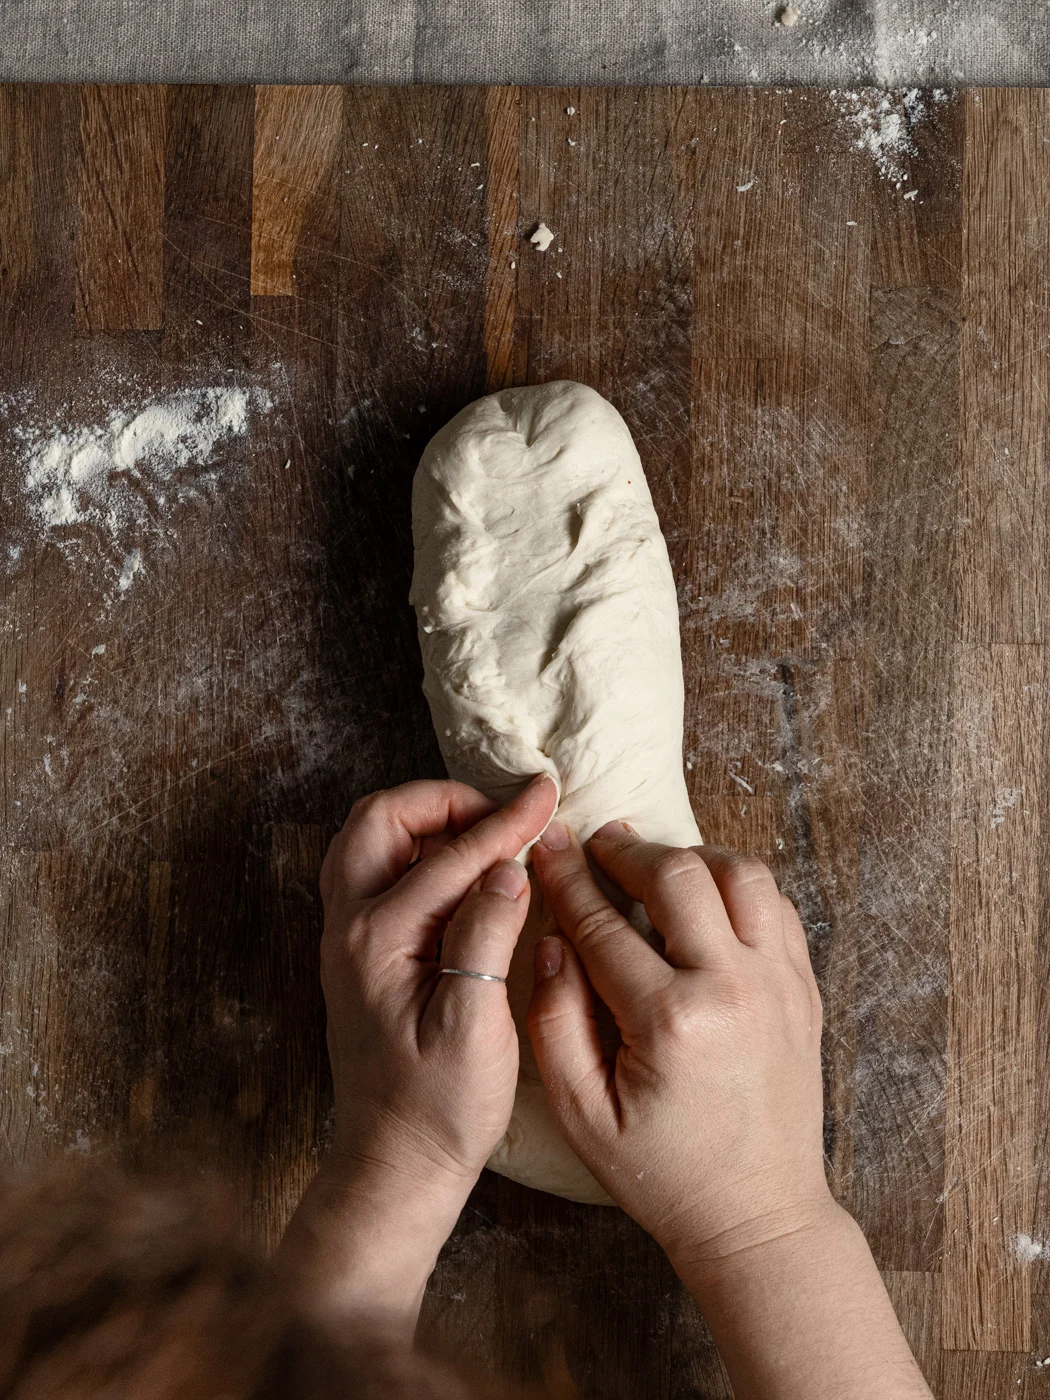
5. Shape the Dough Into 2 Loaves
Punch the air from the dough and transfer it again onto a lightly floured working surface. Divide it into two equal halves and shape them into loaves.


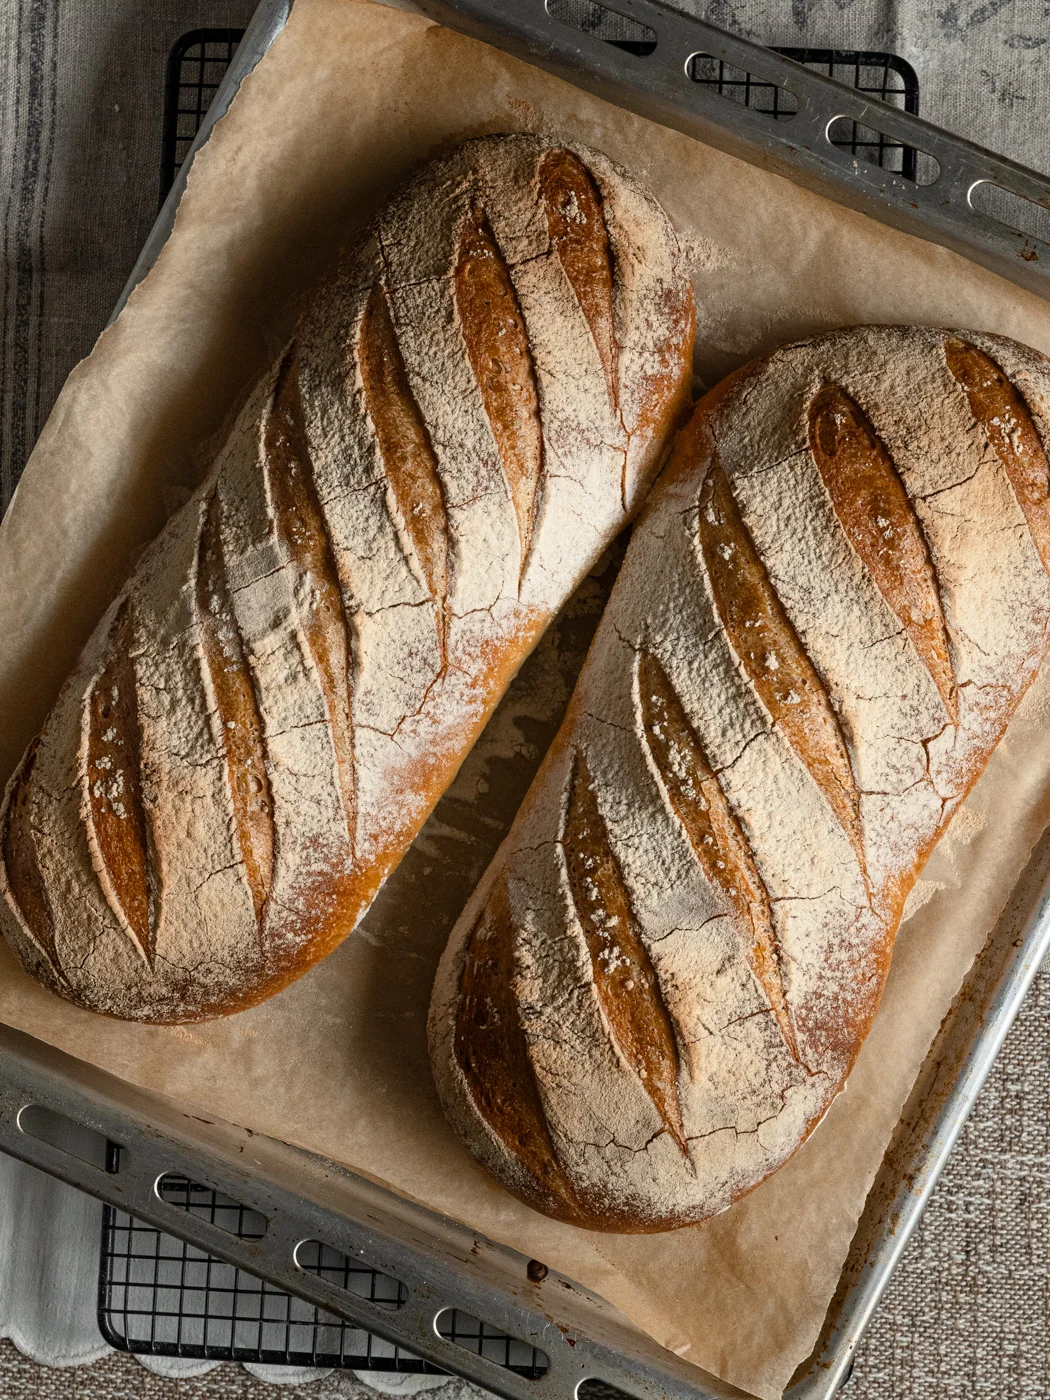
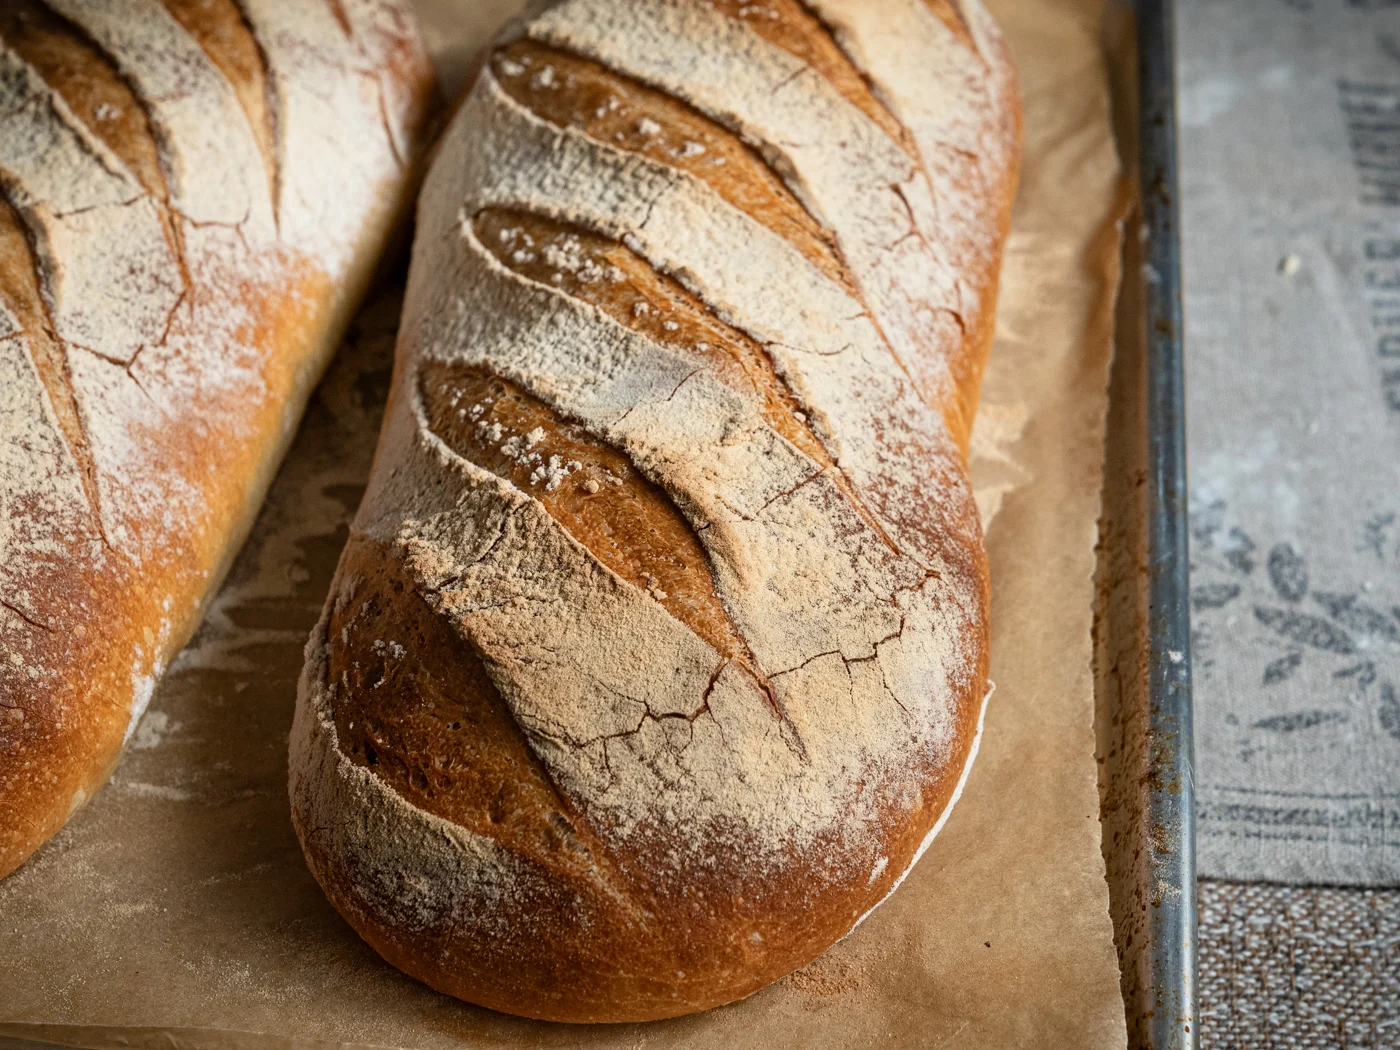
6: Second Rise and Baking
Place them on a baking tray lined with parchment paper and cover. Let the loaves proof for 1-1,5 hours. In the meantime, preheat the oven to 230°C (446°F). Place an old baking tray or metal pan on the bottom rack of the oven.
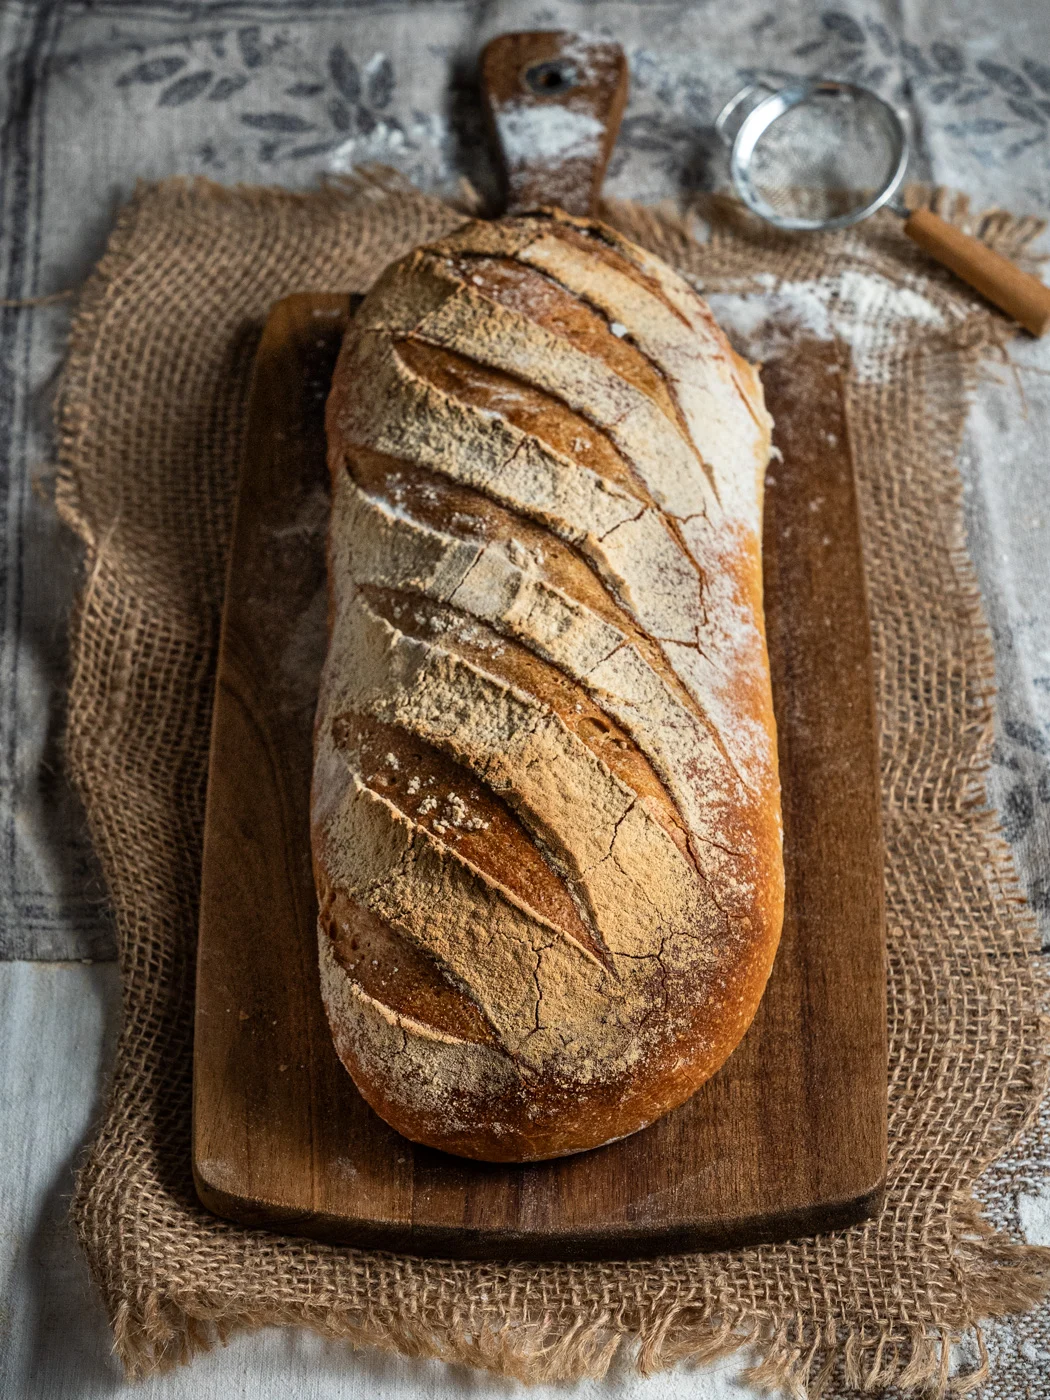
Dust the proofed loaves with flour and score with a serrated knife. Place the bread in the oven and quickly pour a cup of hot water into the old baking tray to create steam. Bake for 35-40 minutes until the bread gets a nice, golden crust and sounds hollow when tapped on the bottom.


Storing, Freezing, And Thawing Homemade White Bread
Wohooo! Your bread turned wonderful: it smells divine, with that lovely golden crust, and you can’t wait to dive into it. I know, I know. But, hear me out; wait until the bread cools completely before slicing. I know how hard it is to resist the smell of freshly baked bread, but if you cut it while it’s still very warm, you risk the gummy interior of your bread. Also, this will make the bread drier, so please let the bread cool for at least 1-2 hours before slicing.
Storing Homemade White Bread
The bread box is the most obvious way to store your bread, but if you don’t have one, you can also use one of those portable food storage containers.
Also, beeswax wraps are a great option; not just because they are reusable and plastic-free, but also because I found out that they do a pretty good job at keeping the bread from drying out.
Avoid paper bags, unless you’re going to eat the bread the same day.
Freezing Homemade White Bread
Freezing is the best way to preserve bread for a long period without losing its quality. This recipe will yield 2 big loaves of bread, and it’s made in mind of saving you some time. As a busy parent, since I bake bread regularly, I always make 2 loaves: one for eating the next few days and one for freezing.
There are 2 ways you can freeze this bread:
- Freeze a whole loaf of bread – wrap the bread tightly in plastic wrap or aluminum foil, and then place it in a freezer-safe ziplock bag or in an airtight container. Always do the double wrapping to prevent freezer burn. Write the date of freezing.
- Freeze sliced bread – this is the option I prefer since I can defrost only a slice or two if needed. Slice the bread (once it’s cooled completely), layer it in the freezer-safe zip-lock bag, and squeeze as much air as possible. Again, write the freezing date on the bag and put it in the freezer.
Thawing the Bread
You can thaw it at room temperature while it’s still wrapped or in a zip lock bag. Or, if you have a toaster, use it for thawing the frozen slices.
Other Bread Recipes
If you want to try other bread recipes, I suggest you try some of these:
- NO-KNEAD OVERNIGHT WHOLE WHEAT FOCACCIA
- PUMPKIN-SHAPED DINNER ROLLS
- BEST BRIOCHE BUNS FOR BURGERS
- PINCA (SIRNICA)- SWEET CROATIAN EASTER BREAD
If you try this recipe, don’t forget to leave your comment and rate this recipe here on the web or tag @foodandmoodblog in your social media posts!
Fuel My Creativity!
Support my work by making a small donation.

Easy White Bread Recipe For Beginners
Equipment
- kitchen scale
- digital thermometer
- measuring jug
- big bowl (for resting the dough)
- wooden spoon
- plastic bowl scraper
Ingredients
FOR ACTIVATING YEAST
- 14 g active dry yeast
- 50 g all-purpose flour
- 60 g water (35-37°C/95°F-99°F)
FOR THE DOUGH
- 950 g all-purpose flour
- 22 g sea salt
- 600 g water (35-37°C/95°F-99°F)
- 50 g extra virgin olive oil (replace with sunflower or canola oil)
- additional flour (for flouring the working surface)
- additional oil (for oiling the dough before proofing)
Instructions
- Prepare and weigh all the ingredients for this bread first.
ACTIVATING YEAST
- In a measuring jug, add flour, yeast, and water. Mix thoroughly with a small whisk and cover loosely with a lid. Leave for about 10 minutes until it doubles in size and becomes bubbly.
MAKING DOUGH
- In a large bowl sift the rest of the flour and salt together.
- Make a well in the center and start adding the wet ingredients: activated yeast, water, and oil. Do this gradually and stir with a wooden spoon to incorporate all ingredients. Finish with your hands if it becomes too hard to handle it with a spoon. The dough should feel quite sticky and a bit shaggy. Cover with a lid and leave for 10-15 minutes.
- Tip the dough onto a generously floured working surface. Make sure you have plenty of room to work. Use the heel of your hands to push the dough away from you. Fold the dough in half towards you then give the dough a quarter turn. Repeat this process until the dough feels and looks like an elastic ball. It's a quite big dough to handle so be patient in this process.
- Lightly oil the bowl, transfer the dough, and cover it with a damp kitchen towel and a lid. It's ready for the next step when it doubles in size. This should take from 1-2 hours, depending on the room temperature.
- Punch the air from the dough and transfer it again onto a lightly floured working surface. Divide it into two equal halves (if needed, weigh each half) and shape them into loaves. Place them on a baking tray covered with parchment paper to proof for 1-1,5 hours and cover.
- Preheat the oven to 230°C (446°F). Place an old baking tray or metal pan on the bottom rack of the oven.
- Dust the proofed loaves with flour and score them with a serrated knife. Place the bread in the oven on the middle rack and quickly pour a cup of hot water into the old baking tray to create steam. Bake for 35-40 minutes until the bread gets a nice, golden crust and sounds hollow when tapped on the bottom.
- Transfer the baked loaves of bread onto a wire rack and leave to cool completely, for about 2 hours. Slice and serve.
Notes
Nutrition
Nutritional information provided is an estimate based on ingredients data and should be used for informational purposes only. Actual nutritional content may vary based on factors such as portion size, preparation methods and ingredients used.
Leave a Reply